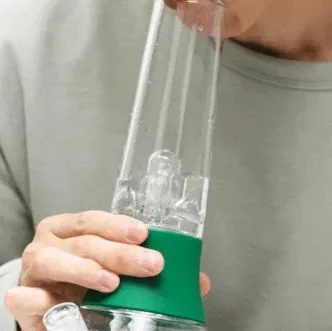
My rig still looks “new,” but the flavor is going flat and the pull feels tight. That’s frustrating. It usually isn’t your technique—it’s residue building up faster than your cleaning rhythm.
To clean a dab rig fast: dump the dirty water while the glass is warm (not hot), rinse with warm water, shake with 91–99% isopropyl alcohol + coarse salt, brush the joint and tight corners, rinse until there’s zero alcohol smell, then air-dry. The real secret is timing: don’t wait for buildup to harden.
I’m Frank from CloverGlass (China-based, B2B wholesale only). After 11 years in glass, the most common “cleaning fail” I see isn’t lack of tools—it’s thermal shock and waiting too long. I’ll share the same simple routine we recommend after QC tests, plus the mistakes that crack glass.
What You Need to Clean a Dab Rig (Minimal Kit)
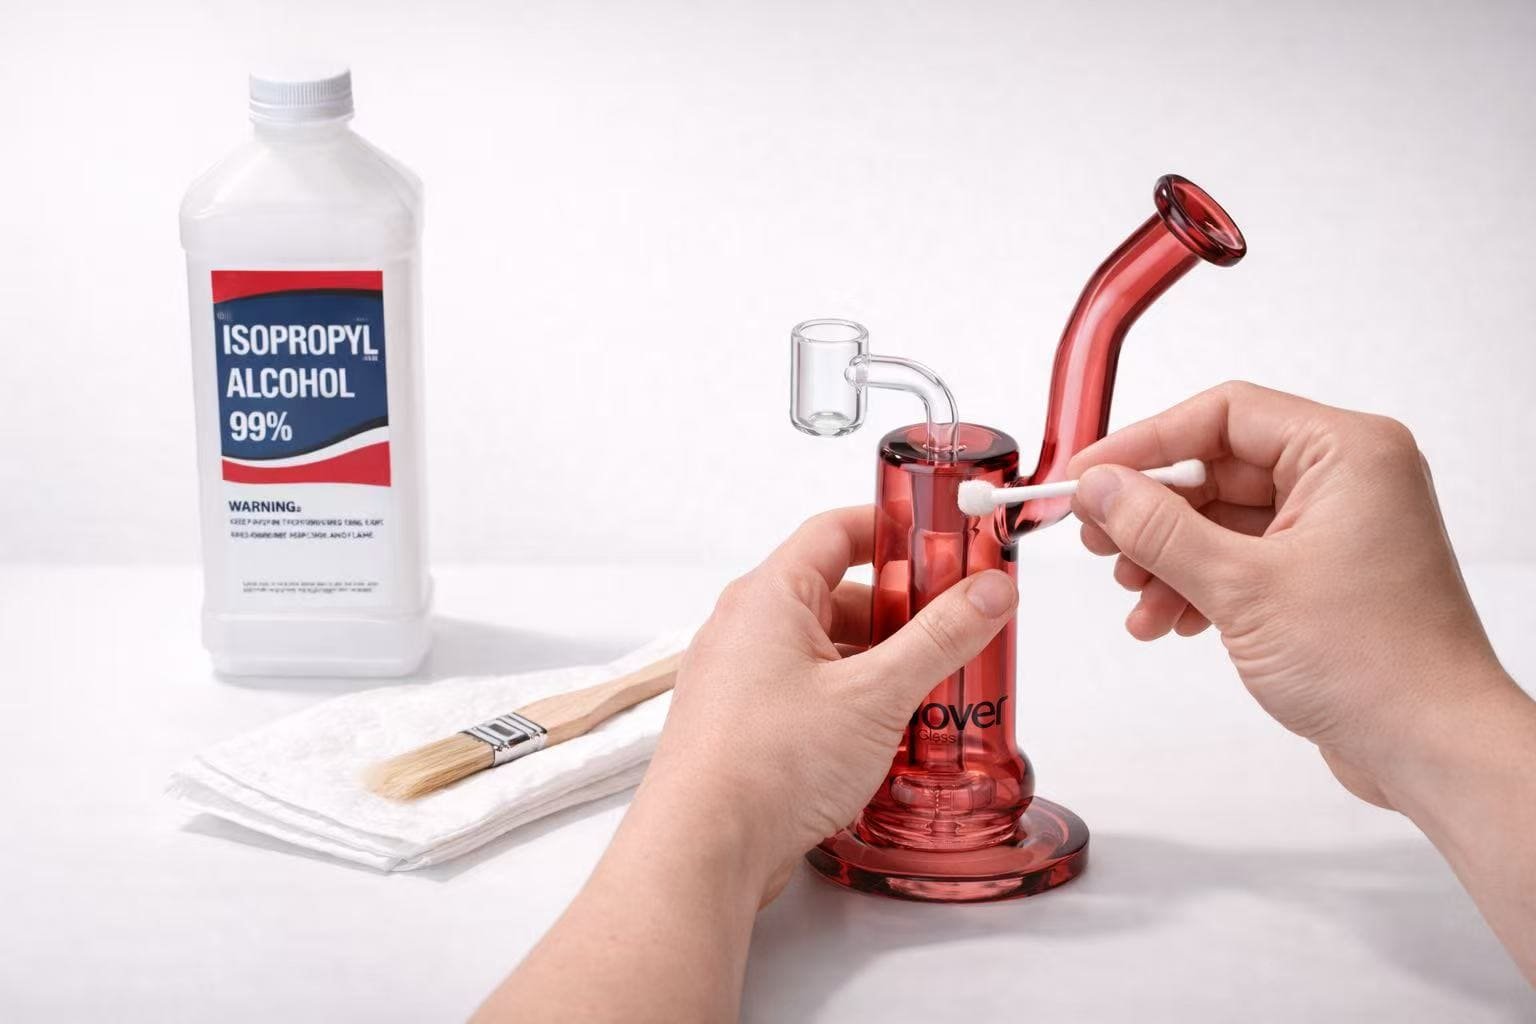
You only need four essentials: 91–99% ISO, coarse salt, warm water, and cotton swabs/soft brushes. Add a sealable bag or silicone plugs, and you can handle 90% of real-world dab rig cleaning without fancy products.
I’m not trying to sell you a “special cleaner.” I’m trying to make sure you actually clean your rig—because a routine you can repeat wins every time. Most people fail because they’re missing one small thing (a plug, a brush, or high enough ISO), and then they procrastinate until residue turns into a stubborn crust.
In our factory tests and QC checks, the basic combo is still the fastest: high-strength isopropyl alcohol + coarse salt. Alcohol dissolves the sticky oil film. Salt acts like gentle abrasion that scrubs the film off glass. Together, they remove residue faster than alcohol alone, especially in elbows and inner tubes.
Here’s the minimal kit I keep in a small box (so I don’t “lose motivation” looking for supplies):
- [ ] 91–99% isopropyl alcohol (ISO) (higher = faster)
- [ ] Coarse salt (sea salt/rock salt; coarse is better than fine)
- [ ] Warm water (not boiling; avoid big temperature swings)
- [ ] Cotton swabs + soft brush (for joints and tight corners)
- [ ] Sealables: zipper bag / silicone plugs / stopper caps (prevents leaks while shaking)
- [ ] Paper towels or microfiber cloth (for outside and base)
If you use a quartz banger/nail, cotton swabs matter even more. A simple habit—swab the banger while it’s still warm—prevents most “black chazz” from forming.

ISO 70% vs 91% vs 99% (What I Actually Use)
70% can work, but it’s slower on oily residue. It’s also more likely to leave water behind, which means you shake longer and rinse longer. For most home users, 91% is the best balance of speed and cost. If you clean often and want the quickest results, 99% is the “fast lane.”
From my experience testing glass accessories, the biggest difference you’ll feel is time-to-clean: with 99% ISO, a light daily clean often takes one short shake cycle; with 70%, you may need multiple cycles or longer soaking. If you’re the type who only cleans when the rig is already dirty, higher concentration saves you from a long, frustrating session.
What to Avoid (Small Choices That Cause Big Problems)
Avoid boiling water and avoid rinsing a hot rig with cold water. That temperature shock is one of the fastest ways to crack glass. Also avoid metal scrapers or steel wool inside the rig. Micro-scratches may not show immediately, but they create places for residue to grab and build up faster later.
The 5–8 Minute Daily Routine (After Each Session)
The easiest “deep clean” is a short daily routine: dump the dirty water, warm rinse, shake ISO + coarse salt for 20–40 seconds, brush the joint, rinse until odor-free, and air-dry. Do this consistently and you rarely need heavy soaking.
Most people think cleaning is a weekend project. That’s why they hate it. I prefer a small routine you can finish before you even forget what you watched. The core principle is simple: clean while residue is still soft. “Warm” is perfect. “Hot” is dangerous.
Here’s the exact sequence I recommend (and I use it myself during product testing). You can copy/paste this into a note on your phone:
Dump water → Warm rinse 10–15s → ISO + coarse salt shake 20–40s
→ Brush joint/corners → Rinse until no smell → Air dry
A quick story: when I visited our LA warehouse, one retail customer tested a rig and immediately dumped the water afterward. No drama. No stink. No “later.” That one habit saves more time than any fancy cleaner, because old water sitting overnight is what makes the whole rig smell “stale.”
Step-by-step checklist (daily use):
- [ ] Wait 1–3 minutes after use until the rig is warm, not hot.
- [ ] Dump the old water right away. Don’t leave it overnight.
- [ ] Warm rinse for 10–15 seconds to flush loose residue.
- [ ] Pour in ISO + coarse salt (enough to roll around).
- [ ] Seal and shake 20–40 seconds (gentle, controlled).
- [ ] Brush the joint and any tight corners.
- [ ] Rinse with warm water until there’s zero alcohol smell.
- [ ] Air-dry upside down if possible.
This isn’t about perfection. It’s about consistency. Even if you skip salt once, dumping water + warm rinse still prevents the worst buildup.
How Hard Should You Shake (Without Spilling Everywhere)
You don’t need a “gym shake.” The goal is to roll salt across the inner surface so it scrubs the oil film. I like two short rounds: shake ~20 seconds, pause 10 seconds so ISO can soak into corners, then shake another ~15–20 seconds. That rhythm is more effective than one long, angry shake.
If you’re worried about leaks, use silicone plugs or a sealable bag around the rig (double protection). It also makes cleanup easier if you’re cleaning in a sink or over a towel.
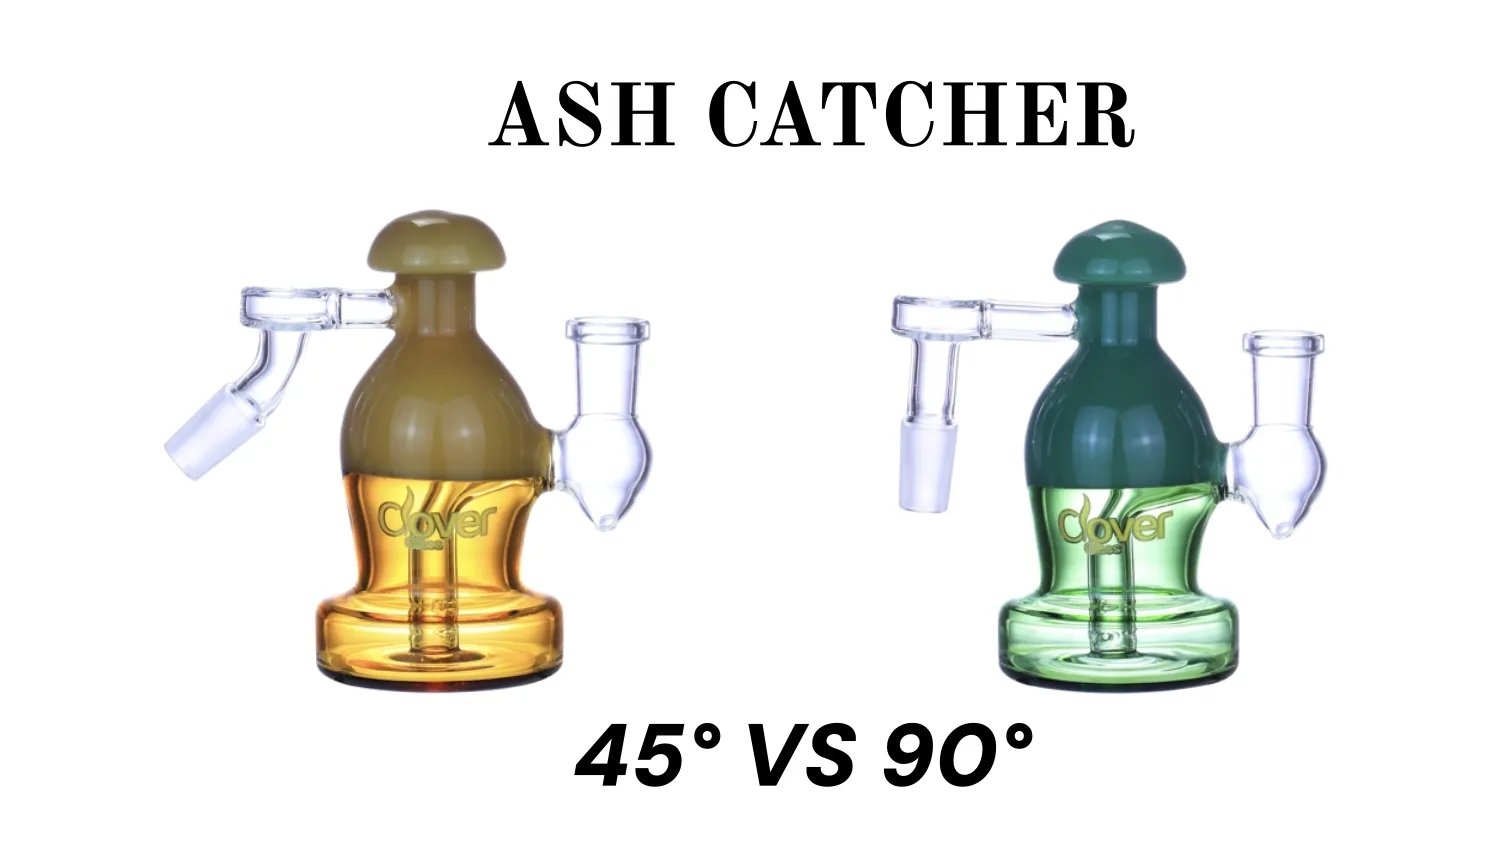
The Joint & Downstem Area (The Most Common Clog Zone)
The joint area collects sticky residue, especially where the airflow narrows. Don’t rely only on shaking. Use a brush or cotton swab with ISO to clean the inner ring. Then warm-rinse again. You’ll feel the difference immediately: smoother pull, less “drag,” and cleaner flavor.
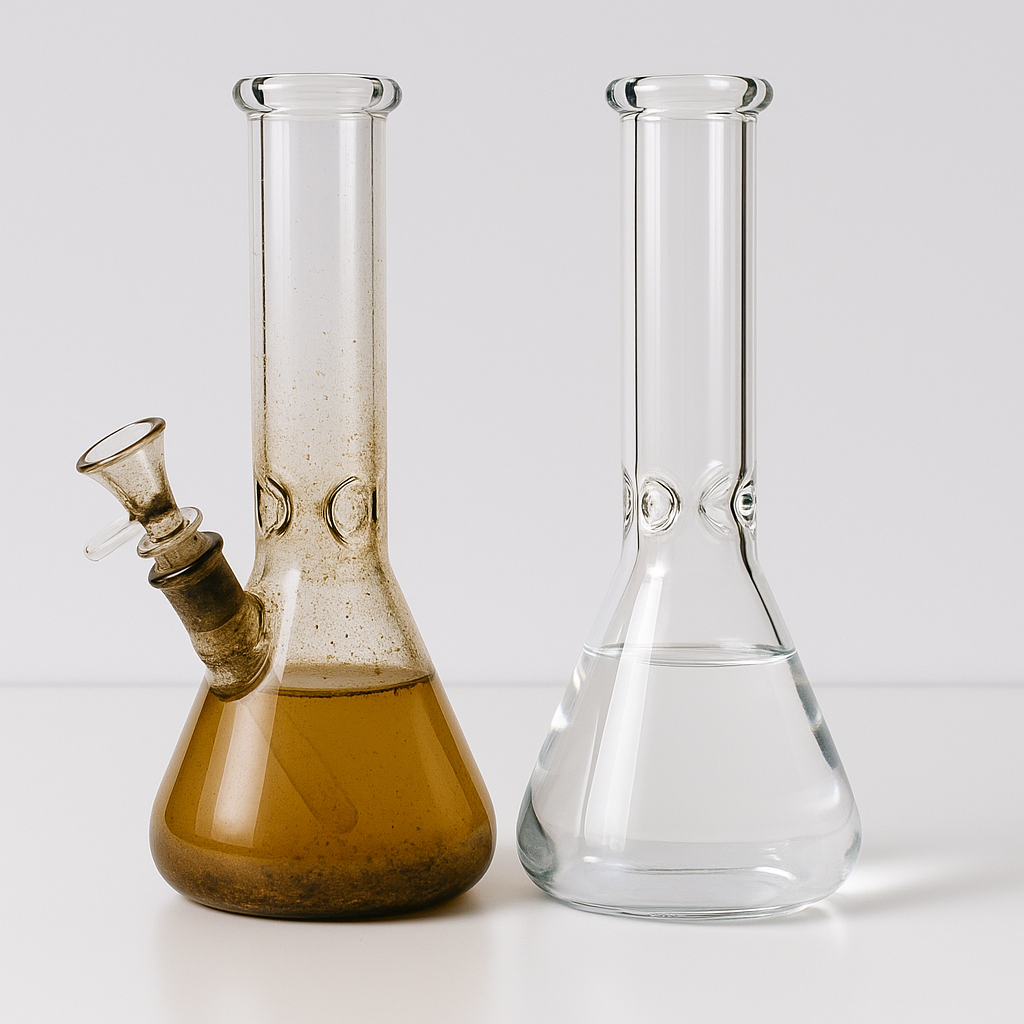
Weekly Deep Clean (When It Starts Looking Yellow)
For weekly cleaning: warm rinse, ISO soak 10–20 minutes, add coarse salt and shake, brush the details, rinse until odor-free, and fully air-dry. Soaking does the heavy lifting—don’t try to brute-force it.
When your rig starts looking yellow or the flavor feels muted even after a quick rinse, that’s a sign the residue has layered up. At that point, daily shaking alone may not reach everything—especially in percolators, tight bends, or multi-chamber rigs. The fix is simple: give ISO time to soften the film, then scrub with salt and a brush.
Here’s a weekly deep-clean checklist you can run on autopilot:
- [ ] Dump old water, warm rinse 15–30 seconds
- [ ] Fill with 91–99% ISO (cover the stained areas)
- [ ] Soak 10–20 minutes (heavy buildup: up to 30 minutes)
- [ ] Add coarse salt, then shake 30–60 seconds
- [ ] Brush: joint, corners, perc inlets
- [ ] Rinse repeatedly with warm water until no alcohol smell
- [ ] Air-dry completely before storing or using again
Why “warm rinse first”? It removes loose debris so your ISO focuses on the sticky oil film, not random particles. It also gently equalizes temperature so you’re less likely to shock the glass.
From an E‑E‑A‑T perspective: in our production and QC process, we care about glass stress and structure. Many breakages aren’t from usage—they’re from sudden temperature changes or forcing tools into tight spaces. That’s why I’m strict about warm water and patience.
If you run a shop or brand and want to reduce returns, include a short cleaning card in the box. We do this for B2B clients through OEM/ODM (typical OEM lead time 20–25 days), and it reduces “it tastes weird” complaints.
Percolator Rigs Take Longer (Here’s the No-Frustration Method)
Complex percs look amazing, but they also create more surfaces where residue can stick. The trick is movement + time. During soaking, gently rotate the rig every few minutes so ISO flows into every chamber and elbow. Don’t shake hard immediately—let the soak soften residue first.
When rinsing, rinse from different angles. Tilt the rig so water flows through each path. If residue is still visible after your first cycle, don’t panic. Add another 5–10 minute soak and repeat. Most people fail because they try to “win” in one round with force instead of using time strategically.
Drying Without Water Spots (If You Care About Looks)
Water spots are mostly cosmetic, but if you want the glass to look crisp: do a final rinse with filtered or purified water. Then air-dry upside down. Faster drying = fewer spots, and fewer spots means the rig looks “new” longer.
How to Remove Stubborn Black Buildup (Safely)
Don’t scrape stubborn buildup with metal. Use “warm swab after use” to prevent it, and use ISO soaking + soft brushing to remove it. If you use a specialty cleaner, follow instructions and rinse thoroughly to avoid residue.
If there’s one topic that causes the most frustration, it’s black buildup—usually on the banger/nail, sometimes around joints or airflow corners. Most of the time, the root cause is the same: too hot, too often. When concentrate hits a surface that’s overheated, it carbonizes fast. Carbonized residue becomes hard, and hard residue becomes a cleaning battle.
My simplest prevention routine (and honestly the best one) is this:
- [ ] After the hit, wait until the banger is warm (not glowing, not scorching)
- [ ] Use dry cotton swab first
- [ ] Follow with a slightly ISO-damp swab if needed
That’s it. If you do this every time, you’ll rarely see thick black layers.
If you’re already dealing with stubborn buildup, here’s what I recommend:
- Soak removable parts (like a banger) in ISO for 20–40 minutes.
- Use a soft brush or swab, not a metal tool.
- For extreme cases, some people use specialty cleaners. If you do, use them carefully, and rinse until there’s no smell. You never want cleaning residue affecting your next session.
If you want a more consistent routine, I recommend using a simple temperature rhythm. I’m not making medical claims here—this is purely about reducing burnt residue and keeping flavor clean.
Quick temperature rhythm (general habit):
Torch 20–40 s → Cool 45–70 s → LoadThe “Too Hot” Problem (Where Most Buildup Starts)
When users tell me “I can’t clean my banger,” nine times out of ten they’re using it at too high a temp. Lowering the temp slightly often improves flavor and reduces residue that turns into black crust.
This is also why, in B2B packaging, we encourage brands to include a simple “cool-down” reminder card. It’s not about telling people how to use a product—it’s about reducing the likelihood of burnt residue that makes users unhappy.
When to Replace Instead of Fighting It
If a banger is heavily clouded, rough-textured, and retains a burnt odor even after repeated soaking, you may be spending 30 minutes to get a 30% improvement. In that case, replacing it can be the practical move. CloverGlass carries quartz accessories for high-usage scenarios, and we can bundle them in packaged series for retail brands.
Cleaning Timing, Safety, and Glass Care (Avoid Cracks)
The safest cleaning rule is simple: avoid thermal shock. Don’t rinse hot glass with cold water, don’t use boiling water, and don’t force tools into tight paths. Use warm water + room-temp ISO + soft brushes, and let time do the work.
I’m going to be direct: the most expensive “cleaning mistake” is cracking glass. Not because the rig was weak, but because the temperature changed too fast. Glass can handle heat, but it doesn’t like sudden transitions. If you remember one thing from this article, remember this: hot → warm → room temperature. Never hot → cold.
Safety checklist (quick and practical):
- [ ] Wait until the rig is warm, not hot
- [ ] Use warm water, not ice-cold or boiling
- [ ] Use ISO at room temperature (never heat ISO)
- [ ] Avoid metal tools or aggressive scraping
- [ ] Keep ventilation when using ISO
- [ ] Rinse until there is zero alcohol smell
- [ ] Air-dry completely before storage
This is “harm reduction” language in the real-world sense: you’re reducing the chance of breakage, burns, and unpleasant residue. No exaggerated claims, just practical risk management.
From the industry side: we’ve invested in veteran glassblowers and QC practices over 11 years. We also keep inventory in our LA warehouse for fast shipping and lower MOQs for B2B buyers. But no matter how good the glass is, thermal shock can still crack it. Proper care matters.
Why Small, Simple Rigs Are Easier to Keep Clean (Buyer Insight)
I’ve watched a lot of first-time users buy the biggest, most complex rig because it “looks premium,” then regret it because it’s hard to clean. Smaller rigs often feel more consistent day-to-day, because the airflow path is short and easy to maintain. That’s why, if you’re new, I usually recommend starting simple. You can always upgrade later.
If you’re browsing options, our retail-friendly selection is here:
- Internal link: Order Online https://cloverglasspipe.com/order-glass-smoking-products-online/
If You Broke One Before, Here’s the Reset
If you’ve cracked a rig during cleaning before, you’re not alone. Reset your routine by focusing on temperature. Let it cool to warm, rinse warm, then use ISO. Slow and steady feels “less efficient,” but it’s actually faster because you avoid disasters.
Maintenance Schedule (So It Never Gets Gross)
Use this schedule: quick clean after every session (5–8 minutes), deep clean weekly, and soak every 3–4 days if you use it multiple times daily. A small routine prevents the “gross stage,” keeps airflow open, and preserves clean flavor.
People ask me, “How often do I really need to clean?” My honest answer: as often as you want it to taste good. Old water and old residue don’t magically stay neutral. They accumulate. If you keep the rig clean, you also avoid the “I need an hour to fix this” weekend situation.
Here’s a simple schedule table you can follow:
| Use Frequency | After Each Session | Deep Clean | Notes |
|---|---|---|---|
| Occasional (1–2x/week) | Dump + warm rinse | Every 2 weeks | Focus on joint area |
| Regular (4–7x/week) | Full quick routine | Weekly | 91–99% ISO recommended |
| Heavy (daily, multiple sessions) | Quick routine + banger swab | Every 3–4 days | Soak helps percs stay open |
And here’s the habit that saves the most time: dump the water immediately. If you do nothing else, do that. Letting water sit overnight is the fastest way to create odor and residue that feels “baked in.”
If you’re a shop owner or brand building a customer base, including this schedule in your product page or packaging can reduce complaints. At CloverGlass we support B2B clients with custom packaging and HD images, and we can add simple care cards into packaged series. We also have a customs team and a clear after-sales process (photo → credit). That structure exists because we know real-world issues happen, and we want buyers to feel supported.
The One Habit That Saves the Most Time (My “Lazy” Trick)
My “lazy trick” is simple: after a session, I dump the water and do a 10-second warm rinse even if I’m too tired for a full shake. That tiny action prevents the worst buildup. Then the next day, the ISO + salt shake is easy instead of painful. This habit is also what I teach new retail users because it’s realistic.
Storage After Cleaning (Don’t Trap Moisture)
After cleaning, don’t seal the rig wet and leave it in a cabinet. Moisture trapped inside can create funky odor and makes the next session feel off. Air-dry fully, ideally upside down. If you care about appearance, wipe the base and mouthpiece with a clean cloth after drying.
Conclusion
If you want the simplest takeaway: don’t wait for buildup to harden. A 5–8 minute routine after each session (dump water → warm rinse → ISO + salt shake → brush → rinse → air-dry) keeps airflow smooth and flavor clean. Weekly soaking handles the deeper film before it turns into a stubborn layer. And above all, avoid thermal shock: hot → warm → room temperature.
If you’re a shop owner, distributor, or brand operator reading this: cleaning education is not “extra content.” It reduces returns and improves reviews. We’ve been in glass for 11 years, we keep strong inventory in our LA warehouse, and we support B2B buyers with OEM/ODM (typical 20–25 days), HD images, and packaging. If anything goes wrong in logistics, we also have a customs support process and clear after-sales steps.
- CTA: Get wholesale quote
- CTA: Order Online: https://cloverglasspipe.com/order-glass-smoking-products-online/
- CTA: Email Frank: Frank@CloverPipe.com
FAQ (10 Q&As, 40–70 words each):
Q1: How often should I clean my dab rig? / A1: If you use it daily, do a quick routine after each session and deep clean weekly. Heavy users often benefit from a soak every 3–4 days. The goal is to clean before residue hardens, because hardened buildup takes longer and can affect airflow and flavor.
Q2: What’s the fastest way to clean a dab rig? / A2: Dump old water while the rig is warm (not hot), warm rinse, then shake with 91–99% ISO + coarse salt for 20–40 seconds. Brush the joint area, rinse until there’s no alcohol smell, and air-dry. Timing matters more than force.
Q3: Can I clean a dab rig with boiling water? / A3: I don’t recommend it. Boiling water raises the risk of thermal shock, especially if the glass cools quickly afterward. Warm water is safer and still effective when paired with ISO + coarse salt and proper soaking time.
Q4: Is 70% alcohol enough for dab rig cleaning? / A4: It can work, but it’s slower on oily residue. I prefer 91% or 99% because it dissolves buildup faster and reduces shake/soak time. Always rinse thoroughly and keep good ventilation when using ISO.
Q5: Why does my dab rig smell bad? / A5: Old water sitting overnight is a common cause. Dump water after each session and warm-rinse quickly. If odor persists, soak with ISO longer and rinse until there’s zero smell. Storage matters too—air-dry fully before putting it away.
Q6: How do I clean the joint area properly? / A6: Use a soft brush or cotton swab with ISO to clean the inner ring and corners. The joint is a common clog zone, so don’t rely only on shaking. Rinse well afterward to remove residue and smell.
Q7: What causes black buildup on a banger/nail? / A7: Most black buildup comes from loading concentrate at too high a temperature, which carbonizes residue. Prevent it by swabbing while the banger is warm. If buildup is already heavy, soak removable parts in ISO and use soft tools instead of scraping metal.
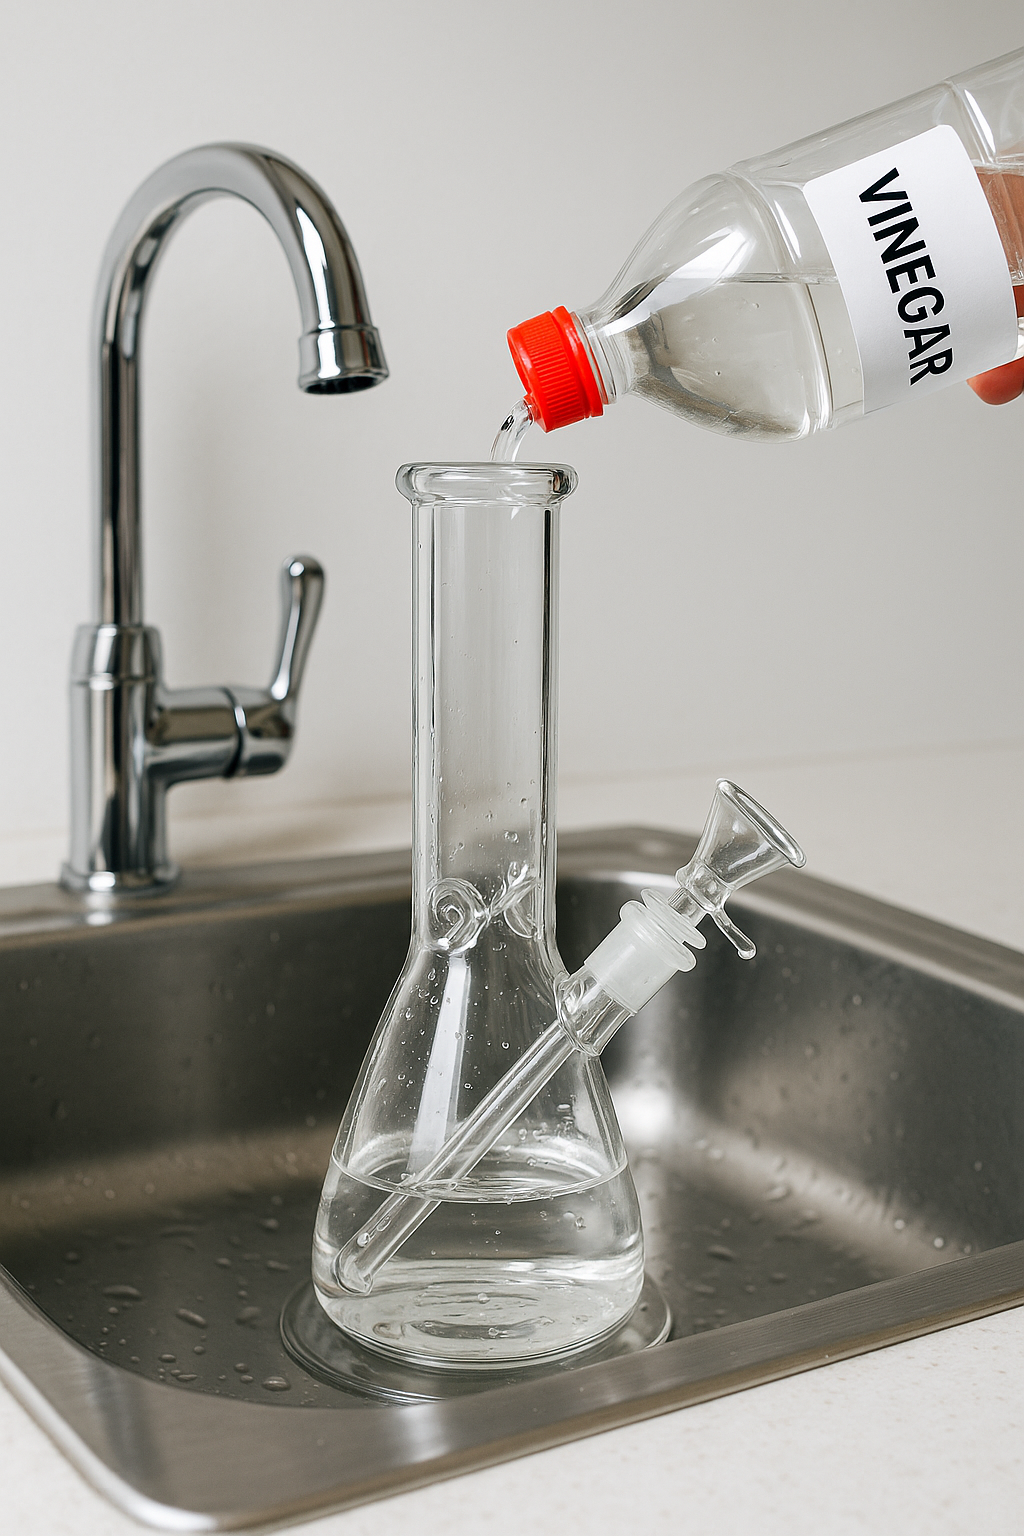
Q8: Can I use dish soap or vinegar to clean my rig? / A8: Dish soap is fine for the exterior and light residue, but ISO + coarse salt is usually better for oily buildup inside. Vinegar can help with mineral spots. Whatever you use, rinse extremely well to avoid lingering taste.
Q9: How do I avoid water spots after cleaning? / A9: Do a final rinse with filtered or purified water, then air-dry upside down so water doesn’t sit in chambers. Water spots are mostly cosmetic, but less spotting keeps the rig looking cleaner.
Q10: Do you offer wholesale/OEM rigs and accessories? / A10: Yes. I’m Frank from CloverGlass (B2B wholesale only). We stock inventory in our LA warehouse for fast shipping, support OEM/ODM (typical 20–25 days), and provide HD images and custom packaging. Email me: Frank@CloverPipe.com.