Cracks in your glass oil burner pipe are frustrating—dangerous too if not handled properly. But don’t worry, I've got your back with practical, step-by-step fixes you can use immediately.
Yes, you can fix minor cracks in a glass oil burner pipe using specialized adhesives or epoxy. However, large or deep cracks mean it's safer—and cheaper—to simply replace it.
I've had my fair share of cracked pipes—trust me, knowing when to repair and when to toss can save headaches later.
Understanding Cracks in an Oil Burner Pipe
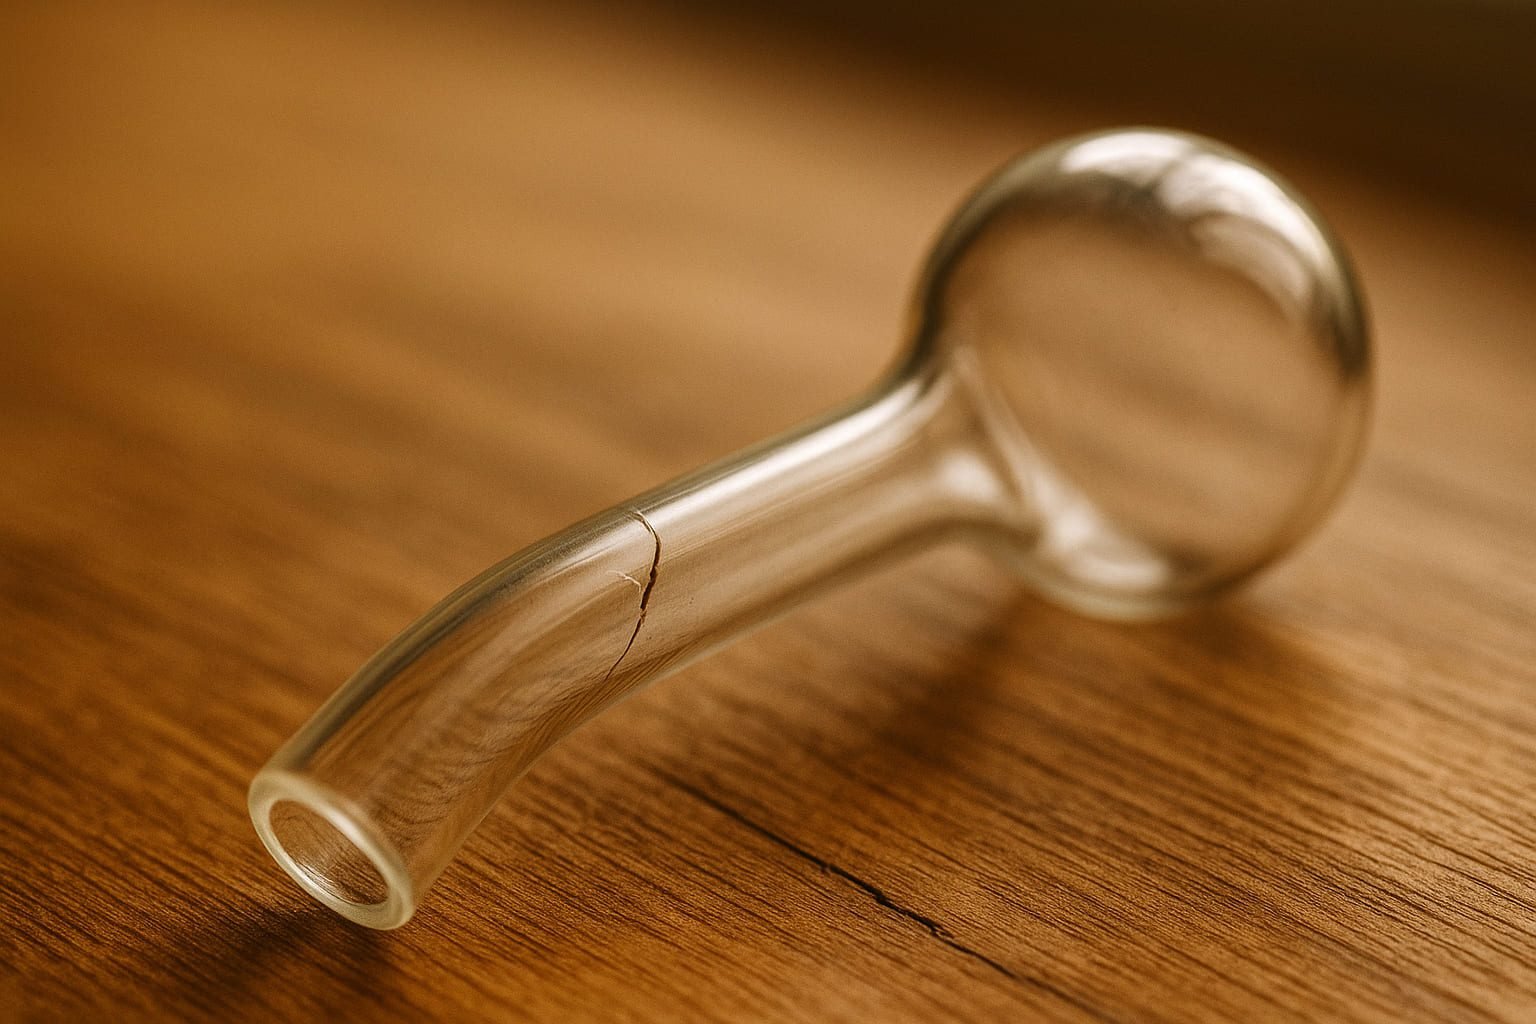
Cracks usually start at weak points—like joints or curves—caused by sudden heat or rough handling.
Glass oil burner pipes aren't invincible. After years in the wholesale business with CloverGlass, I've noticed pipes typically crack at spots where glass thickness changes—like curves, joints, or bowl connections. Rapid heating and cooling is usually the culprit, creating tiny stress fractures.
Typical stress points & why they fail
Stress points form at bends, joints, and thin spots. These areas heat unevenly, causing tension. Ever touched a hot pipe with wet hands? Instant cracks happen when sudden temperature changes occur. Careless handling or dropping the pipe can also create micro-fractures, eventually growing into visible cracks.
Which glass-pipe cracks can still be repaired vs. replaced
Hairline cracks and minor chips? Usually fixable. But deep cracks or large spider-web patterns compromise pipe integrity—time to replace. If the crack feels sharp or runs deeply into the bowl, retire that pipe immediately.
Safety First: Preparing to Work on a Cracked Oil Burner Pipe
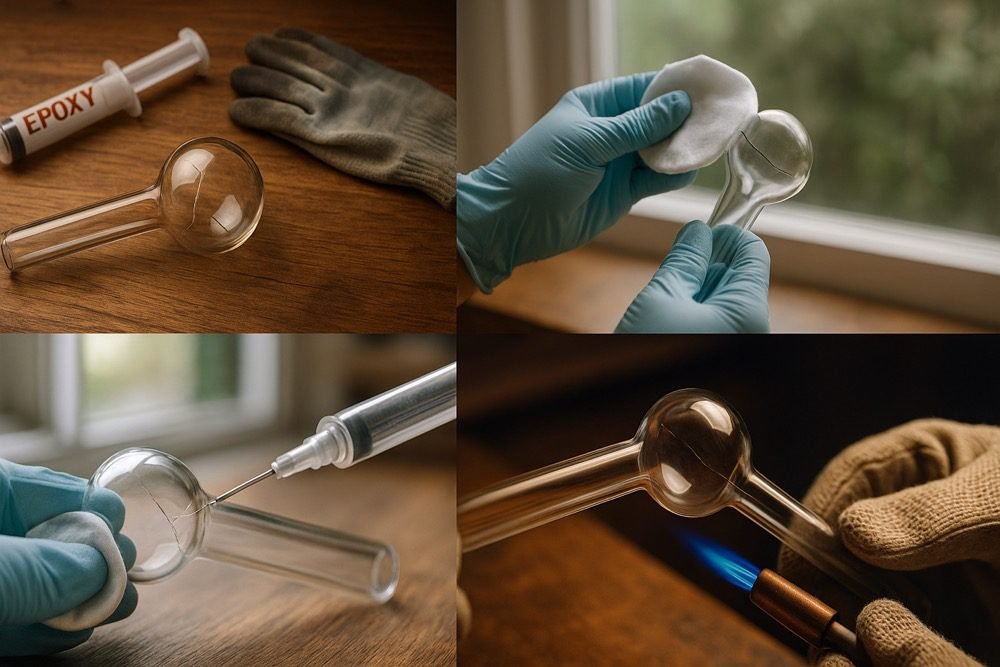
Before fixing your pipe, always wear protective gear and clean it thoroughly to avoid hazards.
Safety isn't optional here. Glass can splinter, and fumes aren't exactly pleasant. Here's how to protect yourself before starting repairs:
Ventilation & PPE you absolutely need
Good airflow is a must. Work near an open window or outside. Protective gloves and eyewear help avoid injuries from glass splinters or chemical exposure. A simple face mask protects from inhaling any residues or fumes.
Cleaning residues before any repair begins
Before fixing, clean the pipe thoroughly. Residue can interfere with adhesive bonding. A bit of isopropyl alcohol and a pipe cleaner works wonders. Just let it dry completely—moisture can weaken adhesive effectiveness.
Choosing Repair Materials for an Oil Burner Pipe
For minor cracks, high-temperature epoxy or specialized glass adhesives work best—avoid regular glue.
Repair materials must handle heat and remain safe. I've experimented plenty; here's what works best:

High-temperature epoxy options
Heat-resistant epoxy bonds firmly and withstands high temperatures.
Pros, cons & cure times
- Pros: Strong bond, affordable, readily available.
- Cons: Slight odor, can discolor slightly.
- Cure time: Usually 24 hours for full strength.
Specialized glass glues & sealants
These offer excellent adhesion and clarity.
Silicone-based vs. UV-cure adhesives
- Silicone-based: Flexible, heat-resistant, easy application.
- UV-cure: Rapid curing (minutes under UV), clear finish, less flexible.
Why super-glue is a last resort
Super-glue quickly fails under heat. It’s brittle, unsafe when heated, and often releases harmful fumes. Save yourself trouble—avoid it.
Step-by-Step: Fixing Hairline Cracks in an Oil Burner Pipe
Clean, apply adhesive carefully, let cure, and test for leaks—your pipe is ready again.
Here’s my go-to method to fix minor cracks:
Surface prep & crack widening (if required)
- [ ] Clean thoroughly with alcohol.
- [ ] For extremely thin cracks, carefully widen with a needle (only if needed).
Applying adhesive the right way
- [ ] Apply a thin adhesive layer—less is more.
- [ ] Ensure adhesive fully covers crack edges.
Curing, sanding, and leak testing
- [ ] Allow recommended curing time.
- [ ] Smooth with fine-grit sandpaper.
- [ ] Test airtightness by gently blowing into the pipe—no leaks means good to go!
Advanced Repairs: Filling Chips or Spider-Web Cracks on Oil Burner Pipes
Larger damage can be fixed with glass-dust slurry and heat annealing—expert methods for experienced DIYers.
When cracks are larger but still manageable, try this:
Using glass-dust slurry for gap filling
Mix fine glass dust with adhesive for filling chips and spider-web cracks. Apply gently, let dry thoroughly. It creates a near-invisible bond.
Heat-annealing small repaired areas
Annealing is gently reheating repaired areas to relieve stress, improving durability. Use a small torch carefully—briefly heat, then slowly cool.
When to Retire the Oil Burner Pipe Instead of Repairing
Deep cracks, shattered bowls, or extensive spider-web cracks mean it's safer and cheaper to replace.
Sometimes it's time to say goodbye. Here's how you know:
Red-flag damage you should never fix
- Extensive spider-web cracks
- Deep cracks in bowl or mouthpiece
- Multiple cracks in critical areas (joints, bowl)
Cost-benefit math: repair kit vs. new pipe
Repairs are great—but only if cost-effective. If repair costs approach half the price of a new pipe, it’s smarter to replace. With my CloverGlass LA warehouse, replacement options ship quickly, saving your time and effort.
Preventing Future Cracks in an Oil Burner Pipe
Proper usage, cleaning, and storage dramatically reduce future cracks.
Prevention saves money. Follow these habits:
Proper heating & cooling cycles
Heat gradually. Let your pipe cool slowly after each use—never rush the cooling process with water or ice.
Quick reference:
Safe cleaning, storage, and transport habits
Always clean your pipe gently with warm water and alcohol. Store securely in padded cases, and transport carefully. A little caution prevents future headaches.
Conclusion
Cracked oil burner pipes aren't always doomed—quick fixes exist, but know when replacing is wiser. At CloverGlass, I guarantee quality, offering OEM pipes within 20–25 days and immediate stock from our LA warehouse.