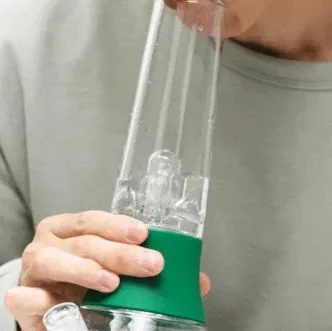
Making a simple glass bubbler pipe at home doesn’t have to feel out of reach. With just a few household items, you can craft a device that filters your smoke through water for a smoother experience.
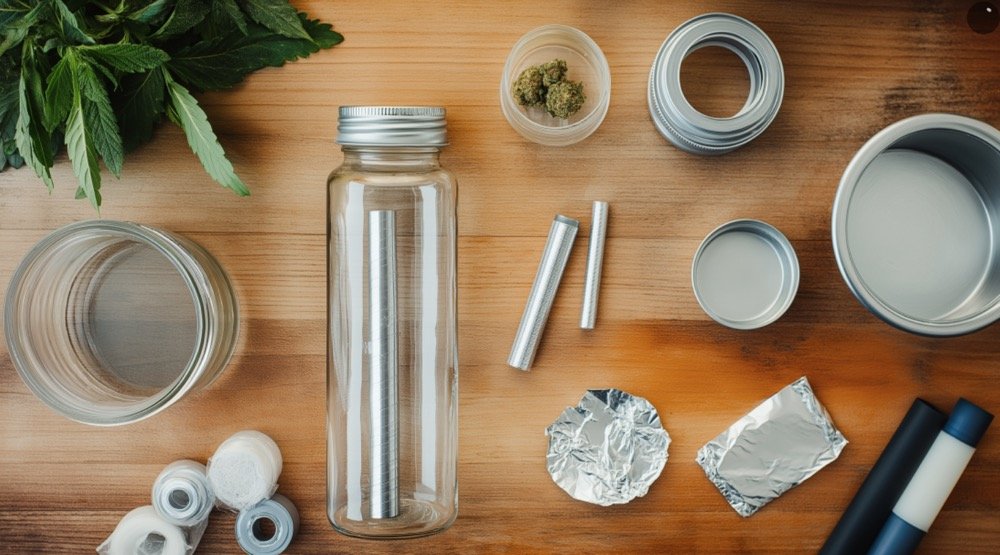
If you’re new to DIY glass bubblers, start by repurposing a small glass bottle or jar (think leftover sauce jar). Then, add a basic downstem—often a metal tube or sturdy plastic straw—so the smoke passes through water. Secure the seals with heat-resistant tape or nontoxic adhesive. Finally, poke or cut a hole for your bowl and mouthpiece. This straightforward setup can be an easy introduction to water-filtration smoking without specialized tools or expensive equipment.
Ready for more details? Let me walk you through key steps, common pitfalls, and the benefits of having reliable wholesale support if you decide to expand beyond a simple DIY setup.
What Basic Materials Do I Need for a Homemade Glass Bubbler?
Gathering materials from around your home or local store can be surprisingly simple. You can transform a leftover jam jar, a small glass bottle, or even a sturdy spice container into the main body.
Just make sure to have these essentials handy:
- A clean glass jar or bottle (leak-free)
- A hollow tube to serve as a makeshift downstem (metal straw, aluminum tubing)
- A metal or foil-lined cap for your bowl
- Heat-resistant tape or nontoxic epoxy
- Water for filtration
If you want a more polished pipe, use a small power drill with a glass drill bit to create precise holes for the downstem and mouthpiece. It’s not mandatory, but it can give a cleaner finish.
What Basic Materials Do I Need
The simplest homemade glass bubbler uses an everyday jar, a metal tube, and water. First, rinse the jar thoroughly, then pierce or drill a hole near the top for your downstem. Fit the tube snugly, sealing any gaps with nontoxic adhesive or tape. Next, create a small bowl using a metal cap or foil—make sure it’s steady and can handle heat. Finally, add water below the downstem level, pop in your favorite herb or tobacco, and you’re set.
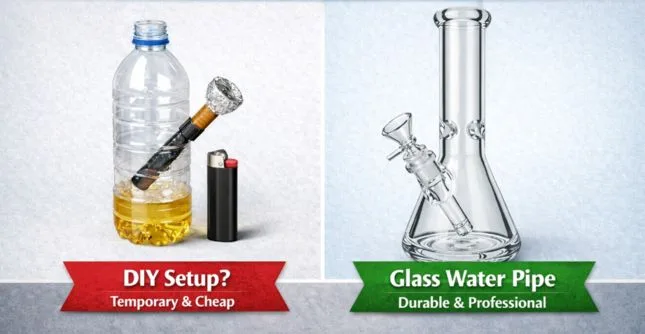
When I assemble a homemade setup, I like to prioritize safety and ease. For instance, reusing a jar with thick walls helps prevent cracks if the surface gets slightly hot. Although you’re not torching the glass itself in this method—unlike traditional glassblowing—it’s still wise to handle your DIY piece gently. Excessive force or sudden temperature changes can cause breakage, so let the jar or bottle cool gradually if it ever heats up.
Next, check the seal around the downstem. If there’s any looseness, air might escape instead of traveling through water. That leads to weak pulls and less filtration. A small dab of nontoxic epoxy or silicone sealant can ensure your tube stays locked in place. Make sure the length of the tube extends an inch or two below the waterline, which allows the smoke to bubble through the water.
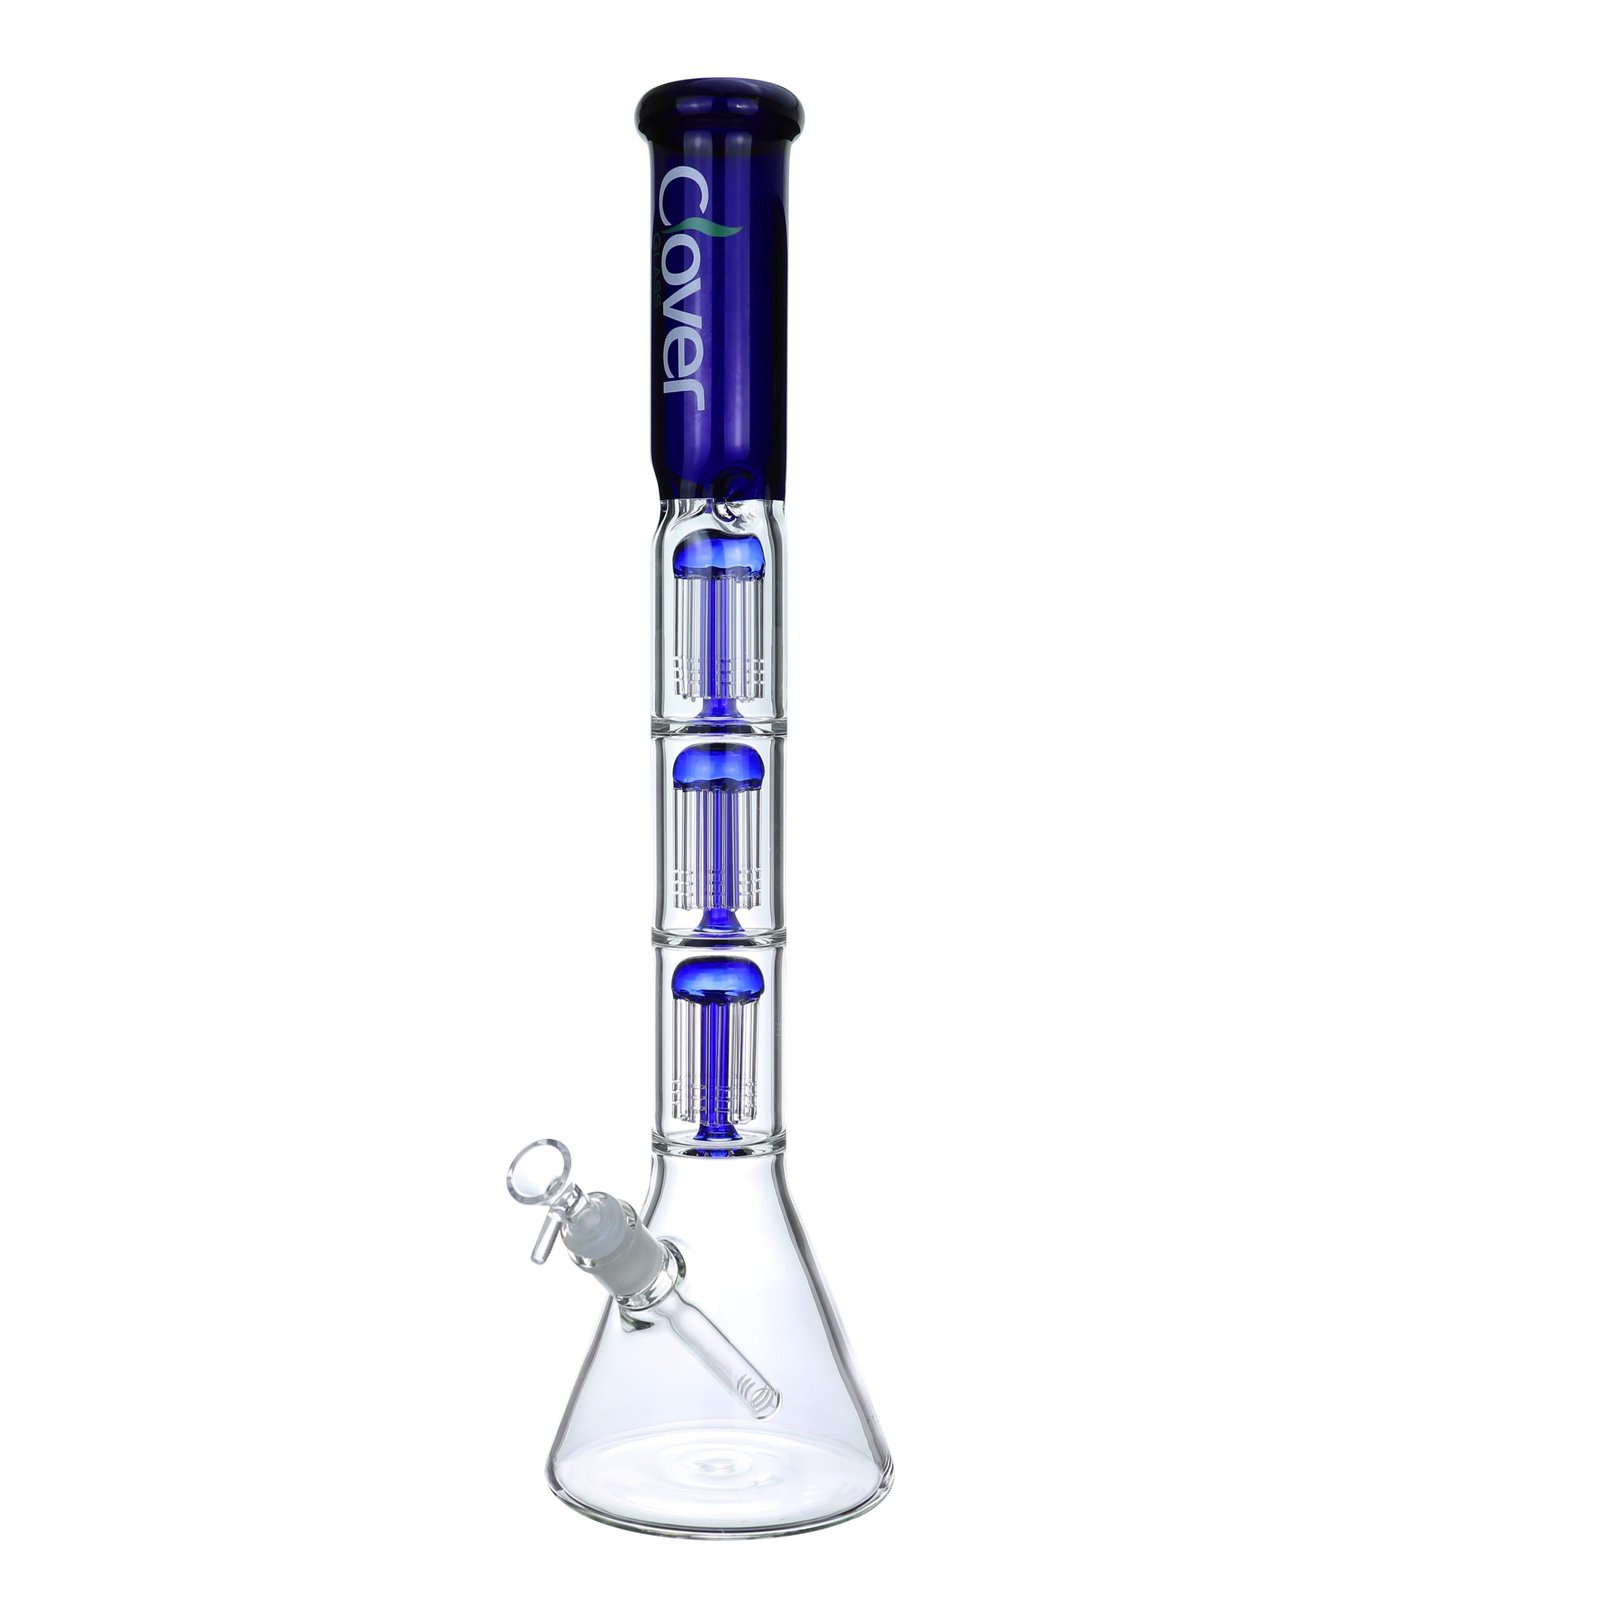
For the bowl, some people find a metal bottle cap or a stainless-steel socket (available in most hardware stores) works well—just be sure it’s clean and safe to heat. Secure it on top of your downstem or attach it to the jar’s lid if the geometry allows. This minimal approach may not look as fancy as a store-bought water pipe, but it’s a rewarding way to see how basic filtration works. And if you want a sleeker piece later, you can always explore custom glassblowing or wholesale options—like the ones I manage under Clover Glass. My team can produce refined pipes in our factory, and we even store inventory in our Los Angeles warehouse for quick shipping if you decide to expand your collection.
How Do I Prepare and Assemble the Glass Components?
Even if you’re not working with a live flame to blow glass, you’ll need a little precision. Think of it like a craft project: measure, mark, and fit everything before locking it in place.
Rinse your glass jar thoroughly, mark the spot for your downstem, and drill or puncture carefully. Attach the downstem at a slight angle so the smoke can travel downward into the water. Then, fit your bowl on top of the downstem or on the lid. Finally, test for leaks by adding water and taking a few practice pulls.
How Do I Prepare and Assemble
Start by cleaning your jar with warm, soapy water. Mark where you want the downstem to enter—usually an inch below the jar’s rim. Carefully drill or puncture that spot. Insert your downstem (a metal straw or tube), securing gaps with tape or epoxy. Add a basic bowl using a heat-resistant cap or foil at the top of the tube. Fill the jar with water, ensuring the tube dips below the waterline. Tighten everything up, and test your airflow.
It helps to approach assembly in stages. After selecting your jar, double-check that it doesn’t have cracks or chips. Minor cracks can expand with heat or pressure, and nobody wants a mid-session leak. When marking the downstem hole, aim for an angle that allows a comfortable pull. If your jar’s shape is rounder near the top, placing the hole slightly off-center can give you more control over airflow.
As for drilling, you can use a standard hand drill with a specialized glass bit. Keep water running over the drill site to prevent overheating. Drill slowly and apply minimal pressure. If drilling feels risky, you can gently create a hole using a small, pointed metal tool heated on a stove—though it’s easier to crack the jar this way, so proceed with caution.
Next, slide in your metal tube. If it wobbles, you’ll need to fill that space. Heat-resistant silicone or aquarium sealant works well—just wait for it to cure fully. Attach your bowl so it’s easy to load but not so close to the water that it gets wet. Some DIYers attach a short extension at the top to keep the herb compartment dry.
Finally, test your seal. Fill the jar with water until the downstem sits about an inch under the surface. Inhale gently from the mouth of the jar (or from a separate mouthpiece hole, if you prefer). If you hear gurgling, you’ve done it right. If it’s squealing or you notice air escaping, reinforce your seals. At this stage, you have a functional homemade bubbler. While it’s not as polished as a custom-blown piece, it’s a good introduction to the science of water filtration—perfect for a quick experiment or casual usage.
What Are Common Mistakes to Avoid?
Even a simple homemade project can run into snags. Uneven drilling, poor seals, or too little water can mess with your bubbler’s performance.
The biggest mistake is rushing. Skipping the measuring step leads to misaligned holes, which results in awkward angles or leaks. Also, using low-quality tape or adhesive often causes air leaks. Finally, failing to clean your jar or tube can introduce unwanted flavors or bacteria.
What Are Common Mistakes
New builders often skip basic prep. Always clean and fully dry your jar and downstem before drilling or sealing. Measure carefully—misplaced holes can tilt the downstem and cause water to splash. Avoid flimsy adhesives, as they can loosen under heat and moisture. Lastly, keep your water level consistent. If it’s too low, you won’t get proper filtration; too high and you risk water entering the mouthpiece.
Let’s break down the pitfalls one by one. First, ignoring jar quality can be costly. If the jar is too thin, accidental bumps or changes in temperature might crack it. Look for a sturdier jar or a bottle that once contained sauce, jam, or juice. Those tend to be built to handle moderate stress.
Second, many people think any tape or glue will do. But when that bowl heats up, cheap adhesives can release fumes or fail to hold. So stick to tapes labeled “heat resistant” or epoxies safe for high temperatures. If you’re not sure, read the product label or search for a brand known for sealing tobacco pipes or aquariums.
Third, water levels. It’s easy to assume more water equals better filtration. But overfill, and you might get splashback in your hits. Conversely, too little water means the smoke doesn’t have enough contact with the liquid, defeating the purpose of a bubbler. Aim to keep the downstem submerged just enough to bubble without risking water creeping up the tube.
Fourth, finishing touches. Once everything is assembled, test the bubbler gently. Are there any whistles or hisses? That’s usually air escaping around the downstem or bowl. Reseal until those noises disappear. And keep cleanliness in mind—dirty water or residue can build up quickly in homemade rigs, altering flavor. A quick rinse with mild soap goes a long way.
This process, while simple, can help you appreciate how water filtration works. And if you’re ever curious about more advanced builds—like a custom glass piece or a standardized design for wholesale—this basic knowledge will guide you. That’s how I started offering various glass water pipes and bongs through Clover Glass. Not everyone wants to manufacture at home, so I like to keep a broad inventory for anyone needing larger quantities or custom solutions.
Where Can I Find Wholesale Support or Extra Glass Supplies?
Maybe you’ve enjoyed making a few homemade bubblers and want to explore more refined options. Or perhaps you run a smoke shop and need a consistent supply of glass pieces. Knowing where to turn for wholesale or specialized parts makes life simpler.
Look for trusted suppliers who can handle shipping in bulk, manage customs, and offer professional packaging. It helps if they have a warehouse in or near your market (like Los Angeles) for quicker deliveries. Also, ask about after-sales support—broken glass replacements, refunds, or additional accessories.
Where Can I Find Wholesale Support
Identify reputable glass manufacturers or distributors who stock a wide range of water pipes, bongs, and other smoking accessories. A reliable supplier often provides local warehouse pickup, bulk shipping options, and a straightforward ordering process. Look for clear payment terms (like 30% deposit, 70% balance) and confirm the minimum order requirements. If they handle customs clearance, that’s a plus, especially for international shipments.
Navigating wholesale channels can feel daunting at first, but it boils down to three key factors: reliability, flexibility, and transparency. Reliability means a supplier who consistently has stock and ships on time. Imagine running a business that needs 20 boxes of glass bubblers every month—knowing your supplier has them ready in a Los Angeles warehouse is a huge relief. That’s why I operate a U.S.-based warehouse myself, so clients in the States don’t wait weeks for shipments from China.
Flexibility comes into play if you have specific packaging or logo requests. For instance, if you need custom branding on your bubblers, find a partner with a design team or glassblowers capable of executing your vision. The steps usually involve sending them your logo, confirming product details, finalizing a sample, and then moving into mass production. Don’t forget to ask about lead times—glass production can take 20-25 days, plus shipping time.
Transparency is crucial. Look for clearly stated minimum order quantities (MOQs) and payment terms. Many wholesalers, including Clover Glass, require a 30% deposit and the remaining 70% before shipment. Some might impose a total of 20 boxes per shipment to ensure safe pallet transport. This helps secure the goods so the glass won’t get jostled or broken in transit. A reliable supplier should also handle or guide you through customs clearance, ensuring no surprises with taxes or port fees.
Finally, consider after-sales support. Glass can break during shipping. A supplier who offers replacement credits or stands by their products can save you both time and stress. In my own operation, I encourage clients to send a photo if something arrives cracked. If it’s on us, we’ll compensate. This policy not only builds trust but also solidifies long-term partnerships. Once you know your wholesale partner genuinely cares about quality and customer satisfaction, you can focus on running your business—be it a local smoke shop or an online store—confident you’ll have a steady supply of well-crafted products.
Conclusion
Building a glass bubbler with everyday items offers a hands-on way to appreciate water filtration and the basics of smoking accessories. If you’d like more polished pieces or a broader lineup for your shop, I’m always here to help with inventory, quick shipping, and personalized support. Stay safe, have fun, and enjoy that smoother, water-filtered pull.