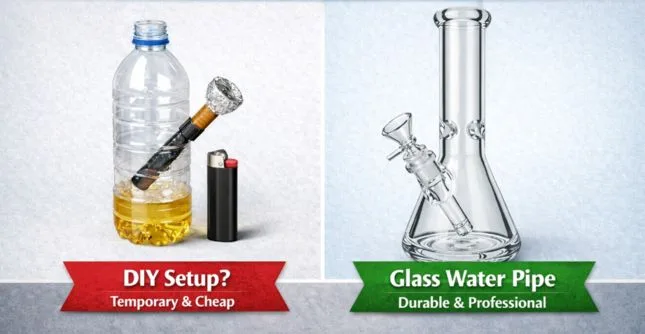
Using a glass oil burner can be a reliable way to enjoy cannabis extracts. But without the right approach, it’s easy to waste product or run into safety issues.
A glass oil burner works by heating concentrates until they vaporize. The key is balancing the right temperature, proper handling, and thoughtful cleaning. If you keep those steps in mind, you’ll get smooth hits and maintain the integrity of your glass piece.
Ready to learn more? Let’s explore the essentials in detail.
What Tools and Materials Do You Need for a Glass Oil Burner?
It’s all about having the proper setup. If you’re missing just one component, your session can turn frustrating.
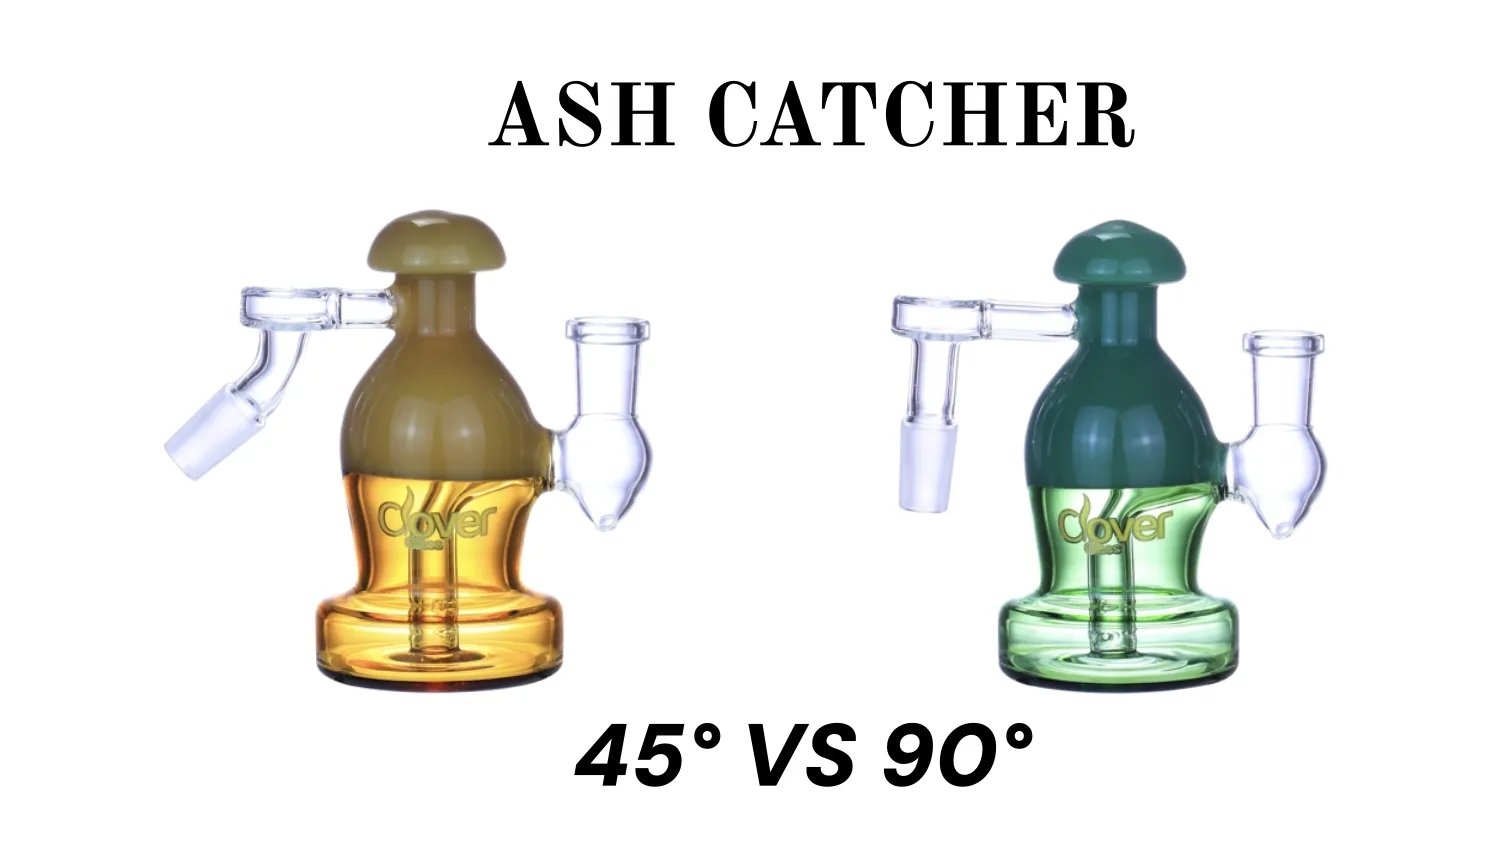
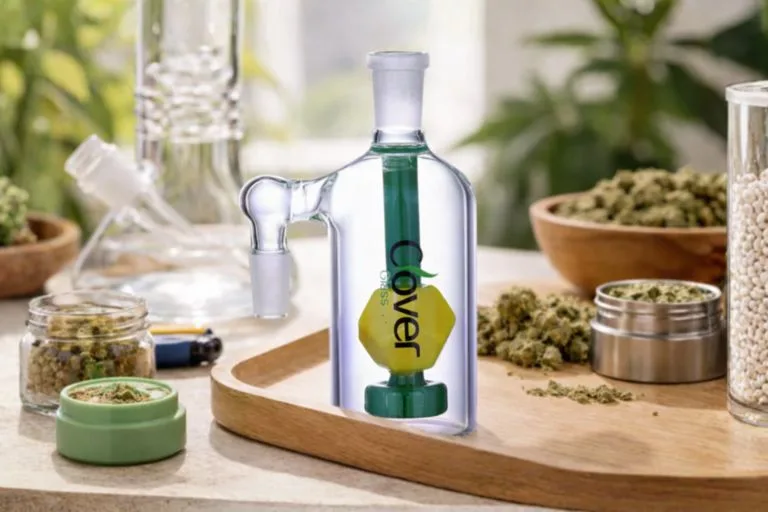
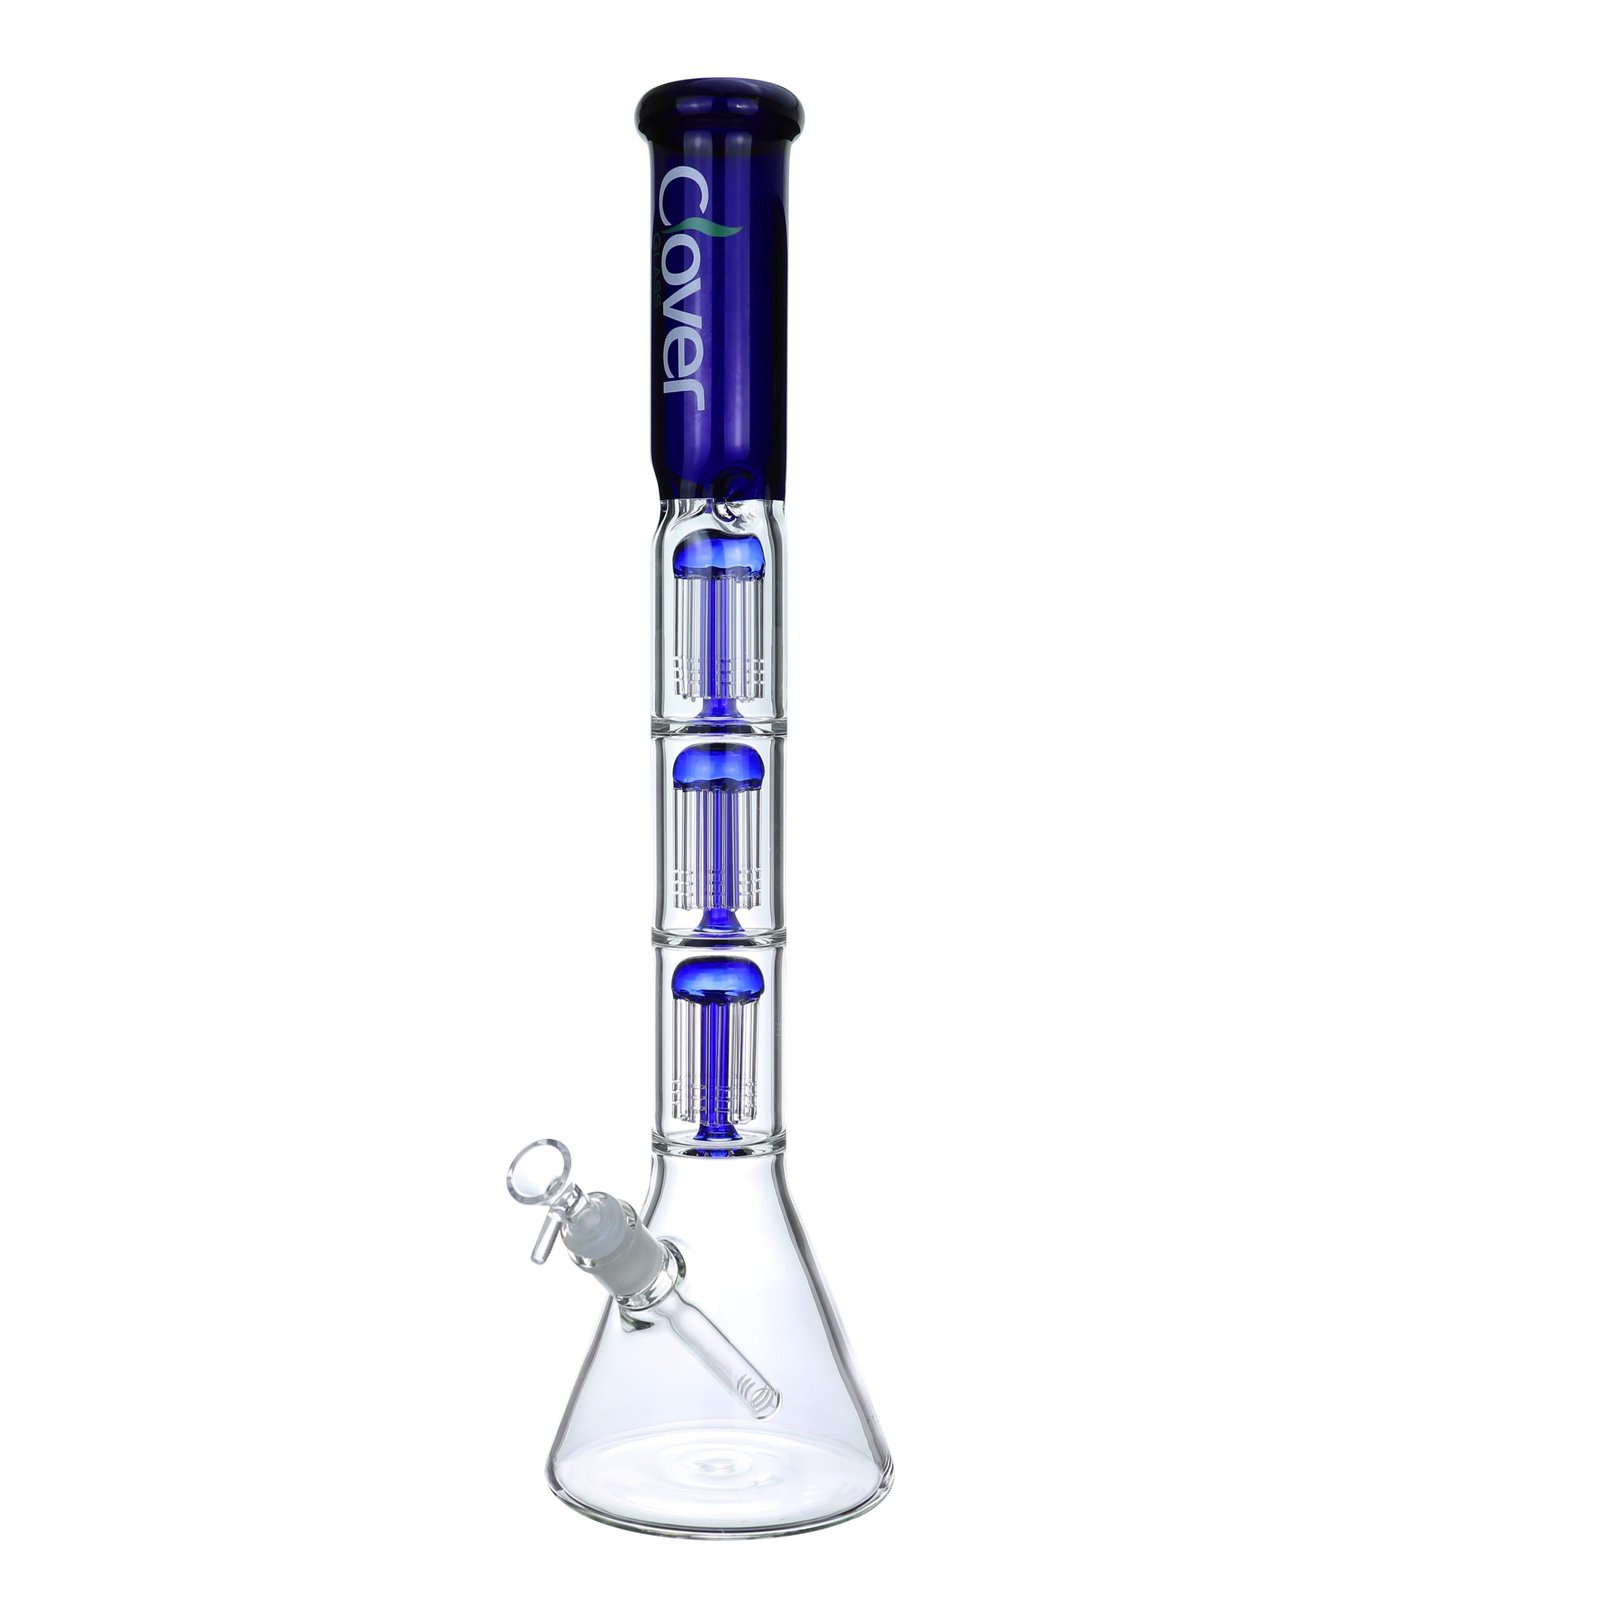
You’ll need a heat-resistant glass oil burner, a reliable torch or lighter, a dab tool for handling concentrates, and quality cannabis extracts. A stable, clutter-free space is also essential for safety.

Tools and Materials
When it comes to glass oil burners, quality truly matters. I’m Frank from Clover Glass, and I’ve spent over a decade working with smoking accessories. With that experience, I’ve seen how the right gear can elevate the entire session. Let’s break it down:
Choosing a Durable Burner
- Borosilicate Glass: Opt for borosilicate pieces because they’re less prone to thermal shock, meaning they handle quick temperature changes without cracking.
- Shape and Design: Some burners feature a rounded “bubble,” while others have a more elongated design. Either is fine as long as it suits your preference and is sturdy.
Heat Source Essentials
- Torch vs. Lighter: A butane torch is often preferred for quicker heating. However, a high-quality lighter can do the job if you’re patient—just be sure it can reach the temperatures needed for cannabis extracts.
- Safety Precautions: Always keep a fire-safe mat or surface beneath your burner. Torches can reach high temperatures fast, so clear the area of flammable objects.
Concentrates and Dab Tools
- Cannabis Extracts: Shatter, wax, or crumble—choose a concentrate texture that’s easy to handle and vaporizes cleanly.
- Dab Tool: A small metal or glass dabber helps you place your extract onto the burner without burning your fingers.
Setting the Stage
- Ventilation: Good airflow keeps fumes from building up, ensuring a more comfortable environment.
- Clutter-Free Zone: Keep your table clear so you can easily reach your dab tool, torch, and burner without risk of knocking anything over.
When you have these basics in place, you’re well on your way to an efficient session. It might seem like a lot, but once you have a dedicated setup, the routine becomes second nature.
How to Prepare Your Glass Oil Burner for First-Time Use?
A brand-new burner might carry residue from manufacturing or packaging.
Wash it gently with warm, soapy water, rinse thoroughly, and let it air-dry. Then, do a quick ‘test heat’ without any concentrate to clear leftover manufacturing odors.

Preparation
Getting that new burner ready ensures you don’t inhale dust or random residue. While the process is simple, it’s a step some overlook. A little upfront effort can make every future session smoother.
Cleaning Basics
- Soapy Rinse: Use mild dish soap and avoid abrasive sponges. You want to protect the glass surface from scratches.
- Thorough Rinse: Any leftover soap can create off smells or tastes. Rinse well with warm water until no bubbles remain.
Drying and Checking
- Air-Dry Fully: Water spots inside the burner can turn into steam when heated, which may cause minor splattering.
- Inspection: Check for cracks or imperfections. Even a small chip can lead to bigger issues once you apply heat.
Test Heat
- No Concentrate Yet: Heat your oil burner gently for a few seconds. This “burn-off” removes unseen residues or tiny manufacturing oils.
- Watch for Odors: If you notice a strong smell, let it cool, then wash again.
Safety Tip
- Cool Between Cycles: Glass can retain heat for longer than expected. Wait a bit before touching it or re-heating if you decide a second cleaning cycle is needed.
This preparation might feel like an extra chore, but it protects both your lungs and your investment. Once finished, you can move on to the real fun: actually using your burner for concentrates.
Step-by-Step Guide to Safely Using a Glass Oil Burner
If the process feels intimidating, let’s break it down together.
Heat the bottom of your burner gently. While it’s warming, use a dab tool to place a small amount of concentrate inside. Continue heating until vapor appears, then inhale slowly.
Usage Guide
A well-executed session starts with understanding each step. When I talk with our partners in the U.S., Canada, or even Germany, I notice the same tips apply no matter where you live.
Prep Your Station
- Organize Items: Keep the burner, torch, concentrates, and dab tool within easy reach.
- Check for Stability: Make sure your oil burner sits on a stable surface so it won’t tip over once you start applying heat.
Heating Technique
- Gradual Heating: Don’t blast the burner at full flame from the get-go. Move the torch in slow circles, allowing the glass to warm evenly.
- Observe Color Changes: A slight glow indicates high heat. Aim to warm it enough to vaporize the concentrate without scorching it.
Loading the Concentrate
- Dab Tool Precision: Carefully place a small dab of your extract onto the warmed burner. If you’re using a highly viscous concentrate, pre-shape it for easier handling.
- Avoid Overfilling: Start with a modest amount. You can always add more if needed.
Inhale and Adjust
- Gentle Pulls: Inhale slowly, letting the vapor accumulate. Rapid inhales can draw too much heat inside, making the vapor harsh.
- Monitor Flavor: If the vapor tastes burnt, you’re overheating. Pull the flame away and let the glass cool slightly.
Following these steps helps you find that sweet spot where flavor and smoothness meet. Over time, you’ll develop a feel for the right temperature and concentrate amounts, perfecting your technique.
What Types of Cannabis Extracts Work Best in a Glass Oil Burner?
Not all concentrates behave the same when heated.
Shatter, live resin, and wax are popular because they melt quickly into vapor. Thicker, crumbly concentrates might need a bit more time and heat, but they can still work well. The best choice depends on personal preference and desired potency.
Best Concentrates
Knowing your concentrate’s properties can make a world of difference. Each type has unique qualities, from texture to taste.
Shatter
- Characteristics: Hard, glass-like consistency.
- Pros: Easy to dose; melts quickly with consistent heat.
- Cons: Can become sticky if warmed by hand too much before use.
Wax
- Characteristics: Softer, more pliable than shatter.
- Pros: Simple to scoop and place onto the burner.
- Cons: Sometimes leaves a bit of residue if heated unevenly.
Live Resin
- Characteristics: Rich in terpenes, offering strong flavor and aroma.
- Pros: Great for a robust taste experience; typically melts smoothly.
- Cons: Pricier than other forms, so you’ll want to handle it carefully.
Crumble
- Characteristics: Dry, crumbly texture that can be tricky to stick onto dab tools.
- Pros: High potency; minimal mess once you’re used to handling it.
- Cons: Can scatter easily if you’re not cautious.
Experiment with smaller amounts to find your favorite. Once you discover which consistency you enjoy the most, you’ll be able to fine-tune your temperature and technique accordingly.
Common Mistakes to Avoid When Using a Glass Oil Burner
Even seasoned users slip up sometimes.
Common missteps include overheating the glass, using too much concentrate, or neglecting to clean residue. These can lead to wasted product, damaged burners, and harsh-tasting vapor. Staying mindful prevents frustration and preserves your setup.
Mistakes and Solutions
When I work with distributors in the U.S. or smoke shops in Canada, I often hear the same issues pop up. Here’s a quick guide on what to watch out for and how to fix it.
Overheating the Glass
- Issue: Applying extreme heat can weaken the glass, leading to cracks or shattering.
- Solution: Start low and go slow. Keep the torch moving, and never let the burner glow red-hot for too long.
Overloading Concentrates
- Issue: Adding too much product at once causes drips, wasted material, and a grimy residue that’s tough to clean.
- Solution: Begin with a small dab. If you need more vapor, load fresh concentrate in small increments.
Skipping Regular Cleaning
- Issue: Residue buildup affects taste and can clog airflow.
- Solution: Quickly rinse your burner after each session. A deeper clean once or twice a week keeps things fresh.
Inhaling Too Aggressively
- Issue: Rapid, forceful pulls can bring in hot vapor, irritating the throat and lungs.
- Solution: Take slow, steady inhales, letting the burner do its job at a natural pace.
Sticking to best practices extends the life of your glass piece and keeps each session enjoyable. Small changes can have a big impact on both flavor and safety.
How to Clean and Maintain Your Glass Oil Burner for Longevity
A clean burner isn’t just about aesthetics—it affects flavor and safety too.
Let it cool completely before handling. Gently remove any leftover concentrate with a dab tool or cotton swab. For stubborn residue, soak in warm, soapy water or use isopropyl alcohol. Rinse thoroughly, and your burner will be good as new.
Cleaning & Maintenance
Over my 11 years in this business, I’ve noticed that consistent maintenance beats major overhauls. A little daily care goes a long way, especially if you run a shop or frequently share your piece with friends.
Immediate Post-Session Wipe-Down
- Cotton Swabs: While the glass is still slightly warm (not hot), wipe away leftover oil. This reduces the chance of sticky buildup.
- Prevents Clogging: Removing fresh residue keeps your burner’s air pathways clear for the next session.
Weekly or Bi-Weekly Deep Clean
- Soak Method: Submerge the burner in a container of warm water mixed with mild detergent or isopropyl alcohol. This loosens hardened spots.
- Gentle Agitation: Swirl the container; avoid shaking too vigorously to prevent accidental chips in the glass.
Drying and Inspection
- Air-Dry Thoroughly: Moisture left inside the burner can cause sizzling or mini steam bursts when reheated.
- Check for Damage: Look for hairline cracks or chips. Early detection can prevent bigger problems later.
Storage and Handling
- Secure Spot: Keep your burner in a padded box or a dedicated drawer to avoid drops.
- Temperature Awareness: Rapid shifts from very cold to very hot can stress the glass. Let the burner come to room temperature if it’s been stored somewhere chilly.
A well-cared-for burner stands up to frequent use, saving you from constantly buying replacements. Plus, you’ll consistently get cleaner, tastier vapor. In the long run, maintenance is an investment in preserving the quality of your gear.
Conclusion
Mastering a glass oil burner for cannabis extracts comes down to the right tools, careful heat management, and proper cleanup. A little mindfulness at each stage—setup, usage, and maintenance—can lead to flavorful vapor and a longer lifespan for your glass piece.