Ever wanted to create your own oil burner pipe using items you already have at home? It’s simpler than you think! Let’s walk through the process together.
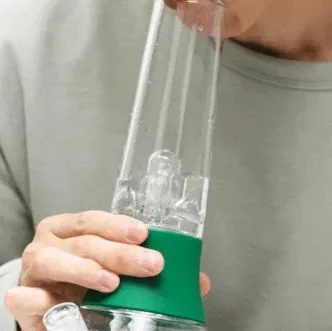
An oil burner pipe allows you to vaporize oils safely and efficiently. By using everyday household items, you can craft a functional pipe without needing specialized tools or materials.
Building your own pipe is not only cost-effective but also gives you a sense of accomplishment. Here’s how you can do it easily and safely.
What Is an Oil Burner Pipe and How Does It Work?
Curious about what makes an oil burner pipe effective? Let’s explore its basics.
An oil burner pipe vaporizes oil using a heat source, allowing you to inhale the vapor without combustion. It typically consists of a heating element, an oil reservoir, and a mouthpiece, working together to deliver a smooth and efficient experience.

Understanding each component helps in crafting a functional and reliable pipe.
Components of an Oil Burner Pipe
Breaking down the parts makes the assembly process clearer and easier.
The key components include a heat source, a container for the oil, a pathway for vapor, and a mouthpiece. Each part must be carefully selected to ensure the pipe works safely and effectively.
Heat Source
A simple but effective heat source can be a small candle or a tealight. It provides the necessary warmth to vaporize the oil.
Oil Reservoir
A small glass or metal container, like a shot glass or metal spoon, can serve as the oil reservoir. It holds the oil before vaporization.
Vapor Pathway
Use a small metal or glass tube, such as a straw or a metal wire wrapped around a glass rod, to direct the vapor from the reservoir to the mouthpiece.
Mouthpiece
A clean straw or a piece of flexible tubing can be used as the mouthpiece, allowing you to inhale the vapor comfortably.
Is It Legal to Make an Oil Burner Pipe at Home?
Wondering about the legal aspects? Let’s clarify.
The legality of making an oil burner pipe at home depends on your local laws and regulations. It’s important to research and ensure compliance to avoid any legal issues.

Staying informed about the laws helps you make responsible decisions.
Understanding Local Regulations
Different areas have varying laws regarding the creation and use of oil burner pipes. Some regions may have strict regulations or bans on homemade devices.
Compliance Tips
- Research Local Laws: Start by checking the laws in your area regarding oil burner pipes.
- Consult Authorities: If unsure, reach out to local law enforcement or legal experts for guidance.
- Stay Informed: Laws can change, so keep up-to-date with any new regulations.
What Materials Do You Need to Make an Oil Burner Pipe?
Ready to gather your materials? Here’s what you’ll need from around your home.
To make an oil burner pipe, you’ll need a few common household items: a small candle or tealight, a glass or metal container, a straw or flexible tubing, and some metal wire or a small glass rod. These materials are easy to find and safe to use with proper precautions.
Having everything on hand ensures a smooth and enjoyable building process.
Essential Materials List
| Material | Purpose |
|---|---|
| Tealight Candle | Provides the heat source for vaporization |
| Shot Glass | Acts as the oil reservoir |
| Straw or Tubing | Serves as the vapor pathway and mouthpiece |
| Metal Wire/Glass Rod | Directs the vapor from the reservoir |
| Aluminum Foil | Used to cover the reservoir and control heat |
Choosing the Right Materials
Selecting sturdy and safe materials is crucial for the pipe’s functionality and safety. Ensure all items are clean and free from any harmful residues.
Step-by-Step Guide: How to Make an Oil Burner Pipe at Home
Let’s get started with a simple, easy-to-follow guide.
Follow these steps to assemble your oil burner pipe: gather materials, prepare the oil reservoir, set up the vapor pathway, attach the mouthpiece, and test your pipe for functionality and safety.
Breaking down the process into clear steps makes the project manageable and straightforward.
Step 1: Gather Your Materials
Collect all the necessary items listed above. Ensure each component is clean and in good condition to avoid any issues during assembly.
Step 2: Prepare the Oil Reservoir
Take the shot glass and fill it with a small amount of oil. Place the shot glass over the tealight candle, ensuring it sits securely to avoid tipping over.
Step 3: Set Up the Vapor Pathway
Take the straw or flexible tubing and insert one end into the shot glass, ensuring it reaches the oil. Use the metal wire or glass rod to guide the vapor from the oil to the mouthpiece.
Step 4: Attach the Mouthpiece
Connect the other end of the straw or tubing to the mouthpiece. Make sure it’s firmly attached to prevent any vapor from escaping.
Step 5: Cover with Aluminum Foil
Cover the top of the shot glass with a piece of aluminum foil. Poke a small hole in the center to allow the vapor to pass through. This helps in controlling the heat and directing the vapor.
Step 6: Test for Functionality and Safety
Light the tealight candle and let it warm the oil. Inhale gently through the mouthpiece to draw the vapor. Check for any leaks or issues and ensure everything is functioning smoothly.
Safety Considerations: Risks of Making an Oil Burner Pipe at Home
Safety first! Let’s discuss the potential risks and how to mitigate them.
Creating an oil burner pipe involves using heat sources and electrical components, which can pose risks like burns, fire hazards, and inhalation of harmful fumes. Always prioritize safety to prevent accidents.
Being aware of the risks helps you take the necessary precautions to ensure a safe experience.
Common Risks
- Burns: From handling hot components or the flame.
- Fire Hazards: Using flammable materials near heat sources increases fire risk.
- Inhalation of Fumes: Poor ventilation can lead to inhaling harmful fumes.
Safety Tips
- Use Heat-Resistant Materials: Ensure all parts can withstand high temperatures without degrading.
- Work in a Well-Ventilated Area: This minimizes the risk of inhaling harmful fumes.
- Keep Flammable Items Away: Maintain a safe distance between the heat source and any flammable materials.
- Supervise the Pipe While in Use: Never leave the pipe unattended while the candle is lit.
Emergency Preparedness
Have a fire extinguisher and first aid kit nearby. Knowing how to respond in case of an accident can prevent minor issues from becoming major problems.
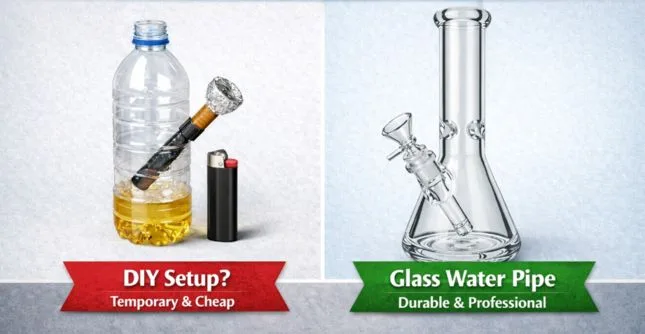
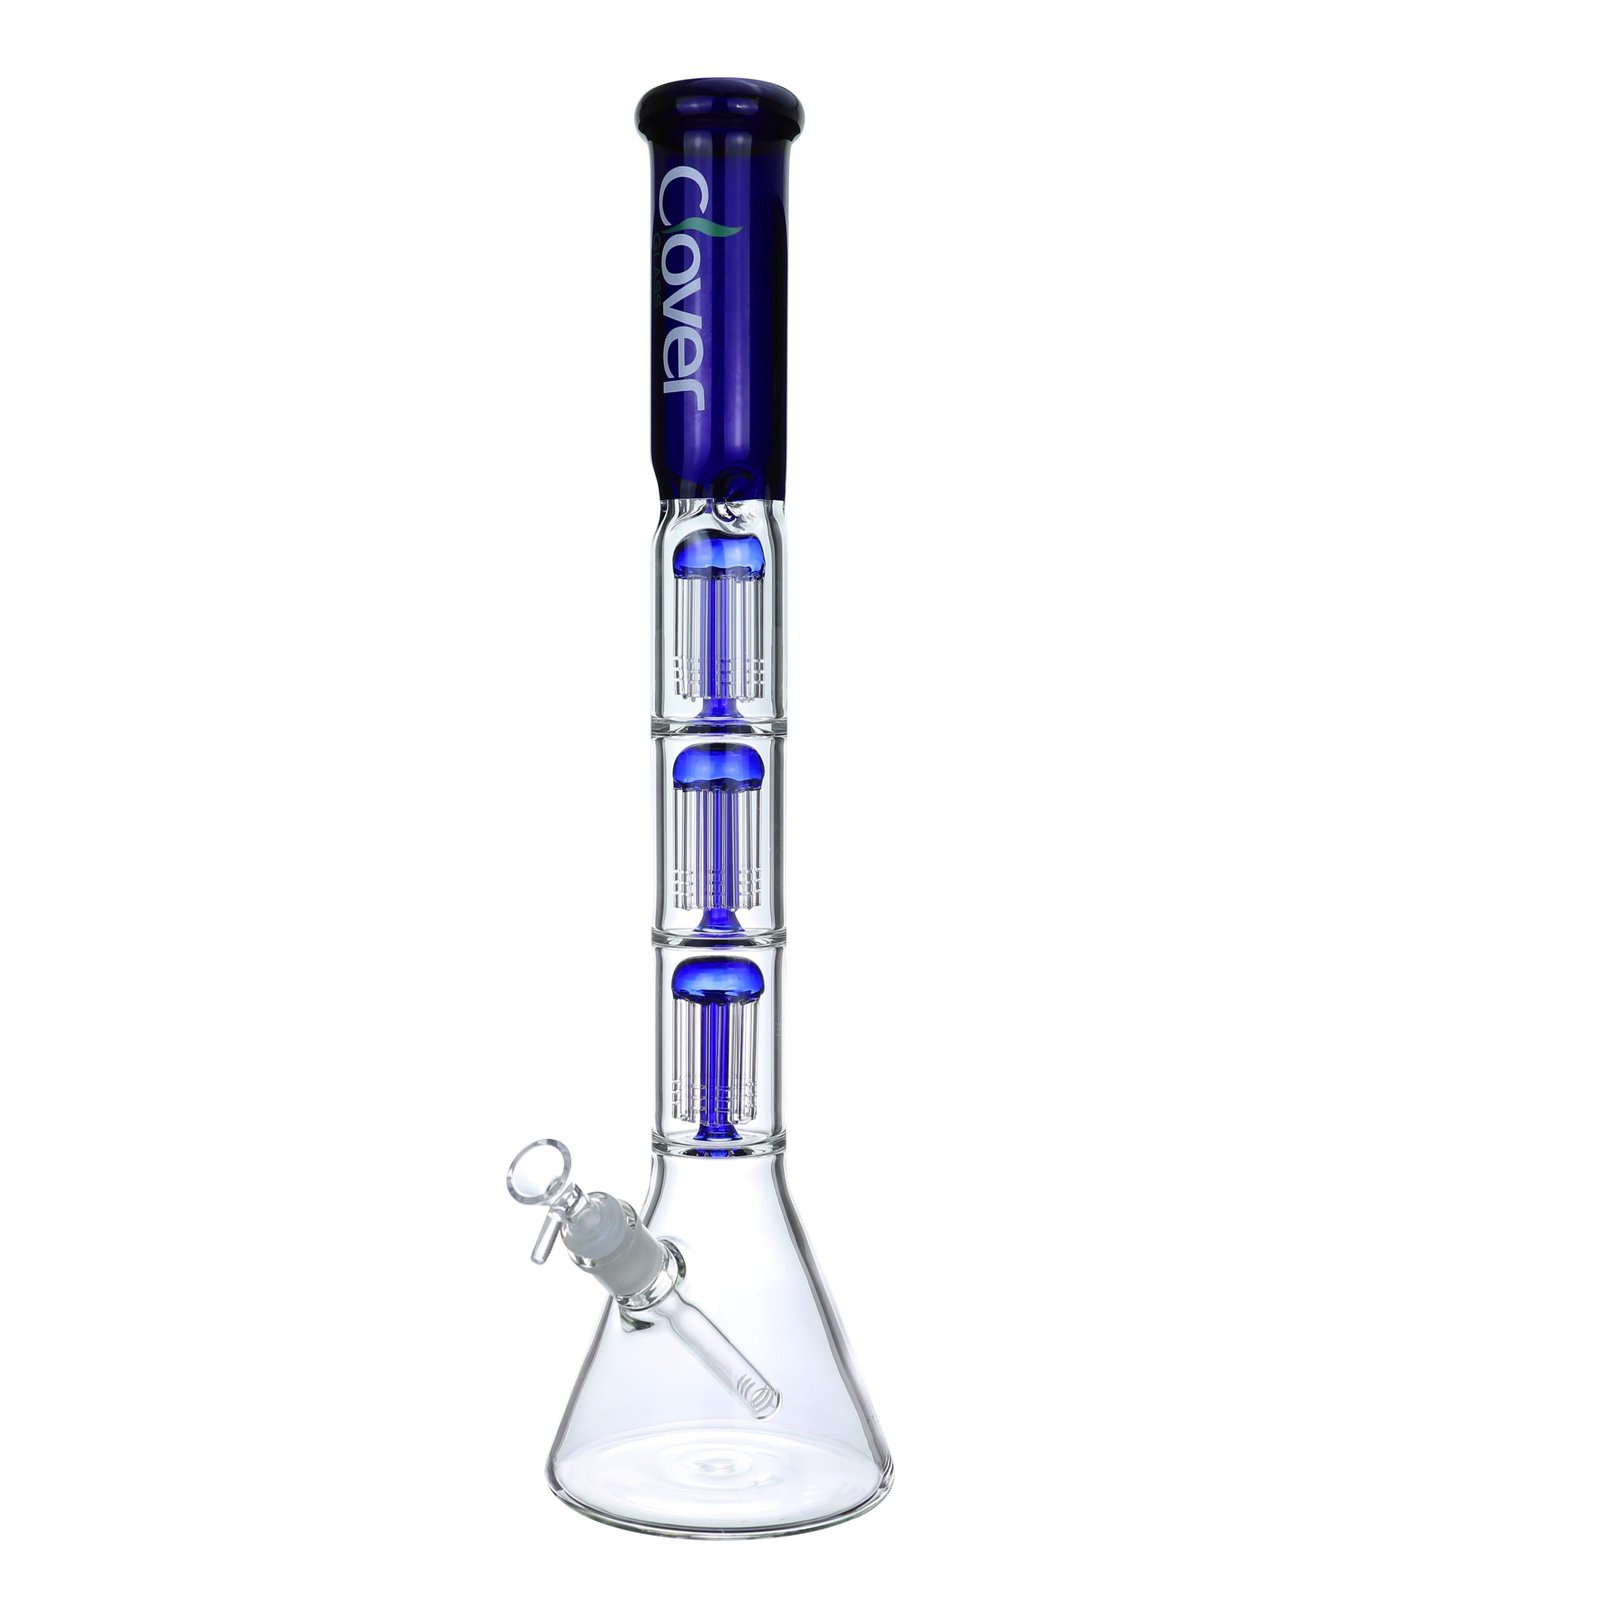
Alternatives to Homemade Oil Burner Pipes: Safer and Easier Options
Not comfortable with DIY? No problem, there are alternatives.
If making an oil burner pipe at home seems too risky or complicated, consider purchasing a pre-made device. Commercial options are designed for safety and efficiency, offering a hassle-free experience.
Exploring alternatives can save you time and ensure you have a reliable, safe product.
Benefits of Commercial Oil Burner Pipes
- Safety: Professionally made to meet safety standards.
- Efficiency: Optimized for performance and vapor quality.
- Variety: Available in different styles and functionalities to suit your preferences.
Choosing the Right Alternative
- Research Brands: Look for reputable brands with positive reviews.
- Consider Your Needs: Choose a device that fits your usage habits and preferences.
- Budget-Friendly Options: Find a balance between quality and affordability to get the best value.
Conclusion
Making an oil burner pipe at home can be a fun and rewarding project if done safely and thoughtfully. Whether you choose to DIY or opt for a commercial alternative, understanding the process ensures a better and safer experience.