You just bought a glass bubbler, but you're not entirely sure how to use it. Maybe you've only smoked joints or bowls before, and this little water pipe looks a bit confusing. Don't worry – you're not alone, and I'm here to walk you through it.
To use a weed bubbler, you fill the chamber with just enough water to cover the downstem's diffuser, pack the bowl with ground cannabis, light it while inhaling gently, and clear the chamber by pulling the bowl or lifting the carb. The water cools and filters the smoke, giving you a smoother hit than a dry pipe.
I'm Frank from CloverGlass. I've been supplying smoke shops with glass bubblers, pipes, and accessories for over a decade. In that time, I've helped thousands of customers – from first-time smokers to seasoned shop owners – understand how to get the most out of their glass. Let me break down everything you need to know about using a bubbler, from water levels to cleaning.
Contents
- 1 What Is a Weed Bubbler and Why Use One?
- 2 How to Use a Weed Bubbler – Step by Step
- 3 How Much Water to Put in a Bubbler
- 4 How to Pack a Bubbler Bowl
- 5 How to Light and Hit a Bubbler
- 6 How to Clean a Glass Bubbler
- 7 Bubbler vs Bong – What's the Difference?
- 8 Common Bubbler Mistakes to Avoid
- 9 How to Choose the Right Bubbler for You
- 10 FAQ
- 11 Conclusion + CTA
What Is a Weed Bubbler and Why Use One?
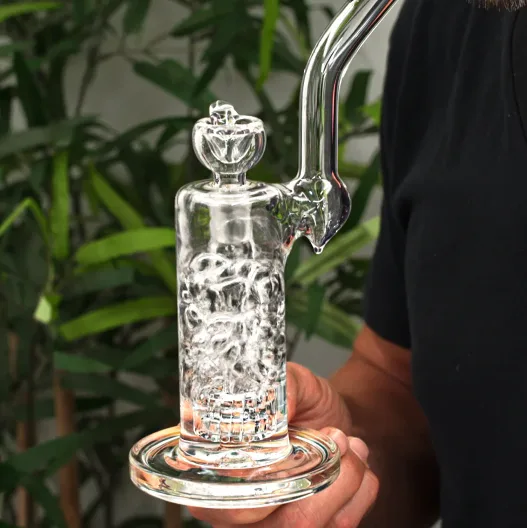
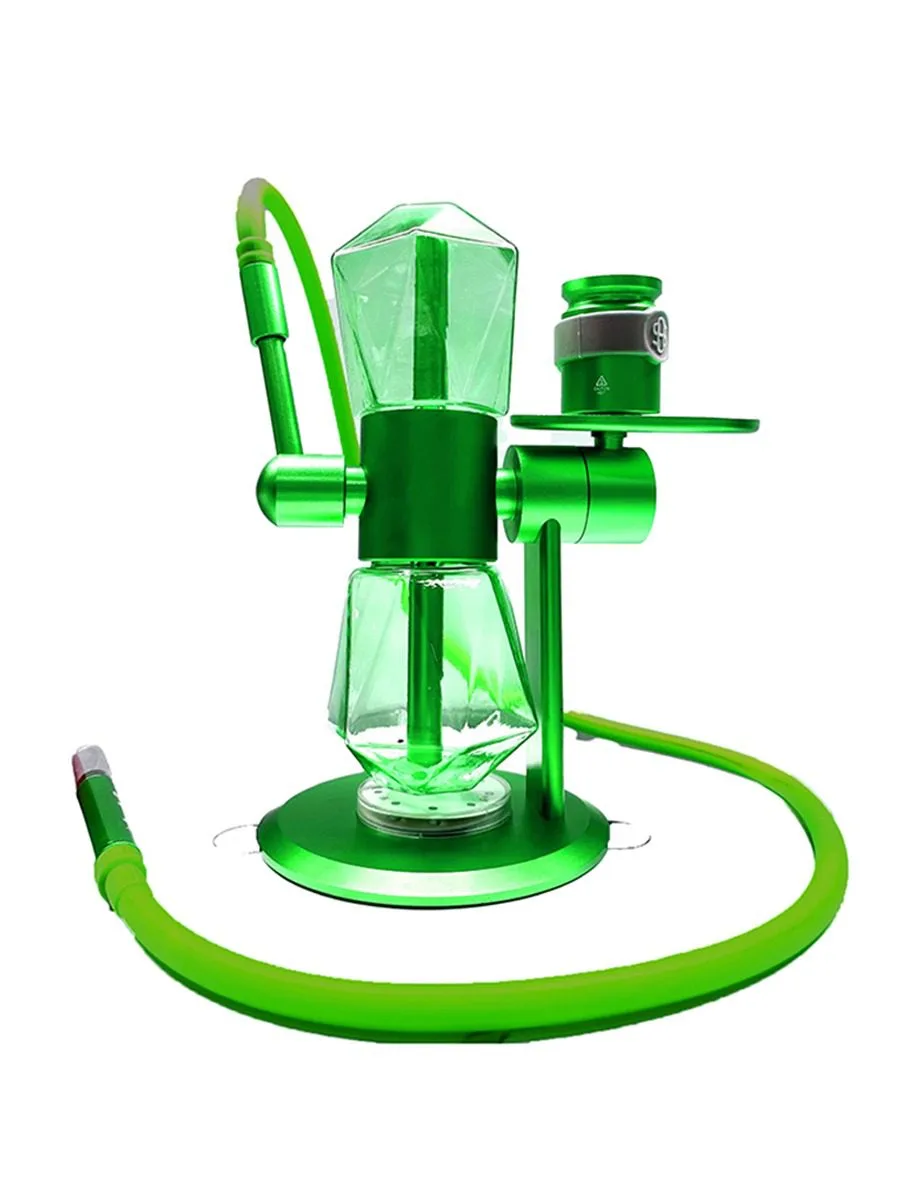
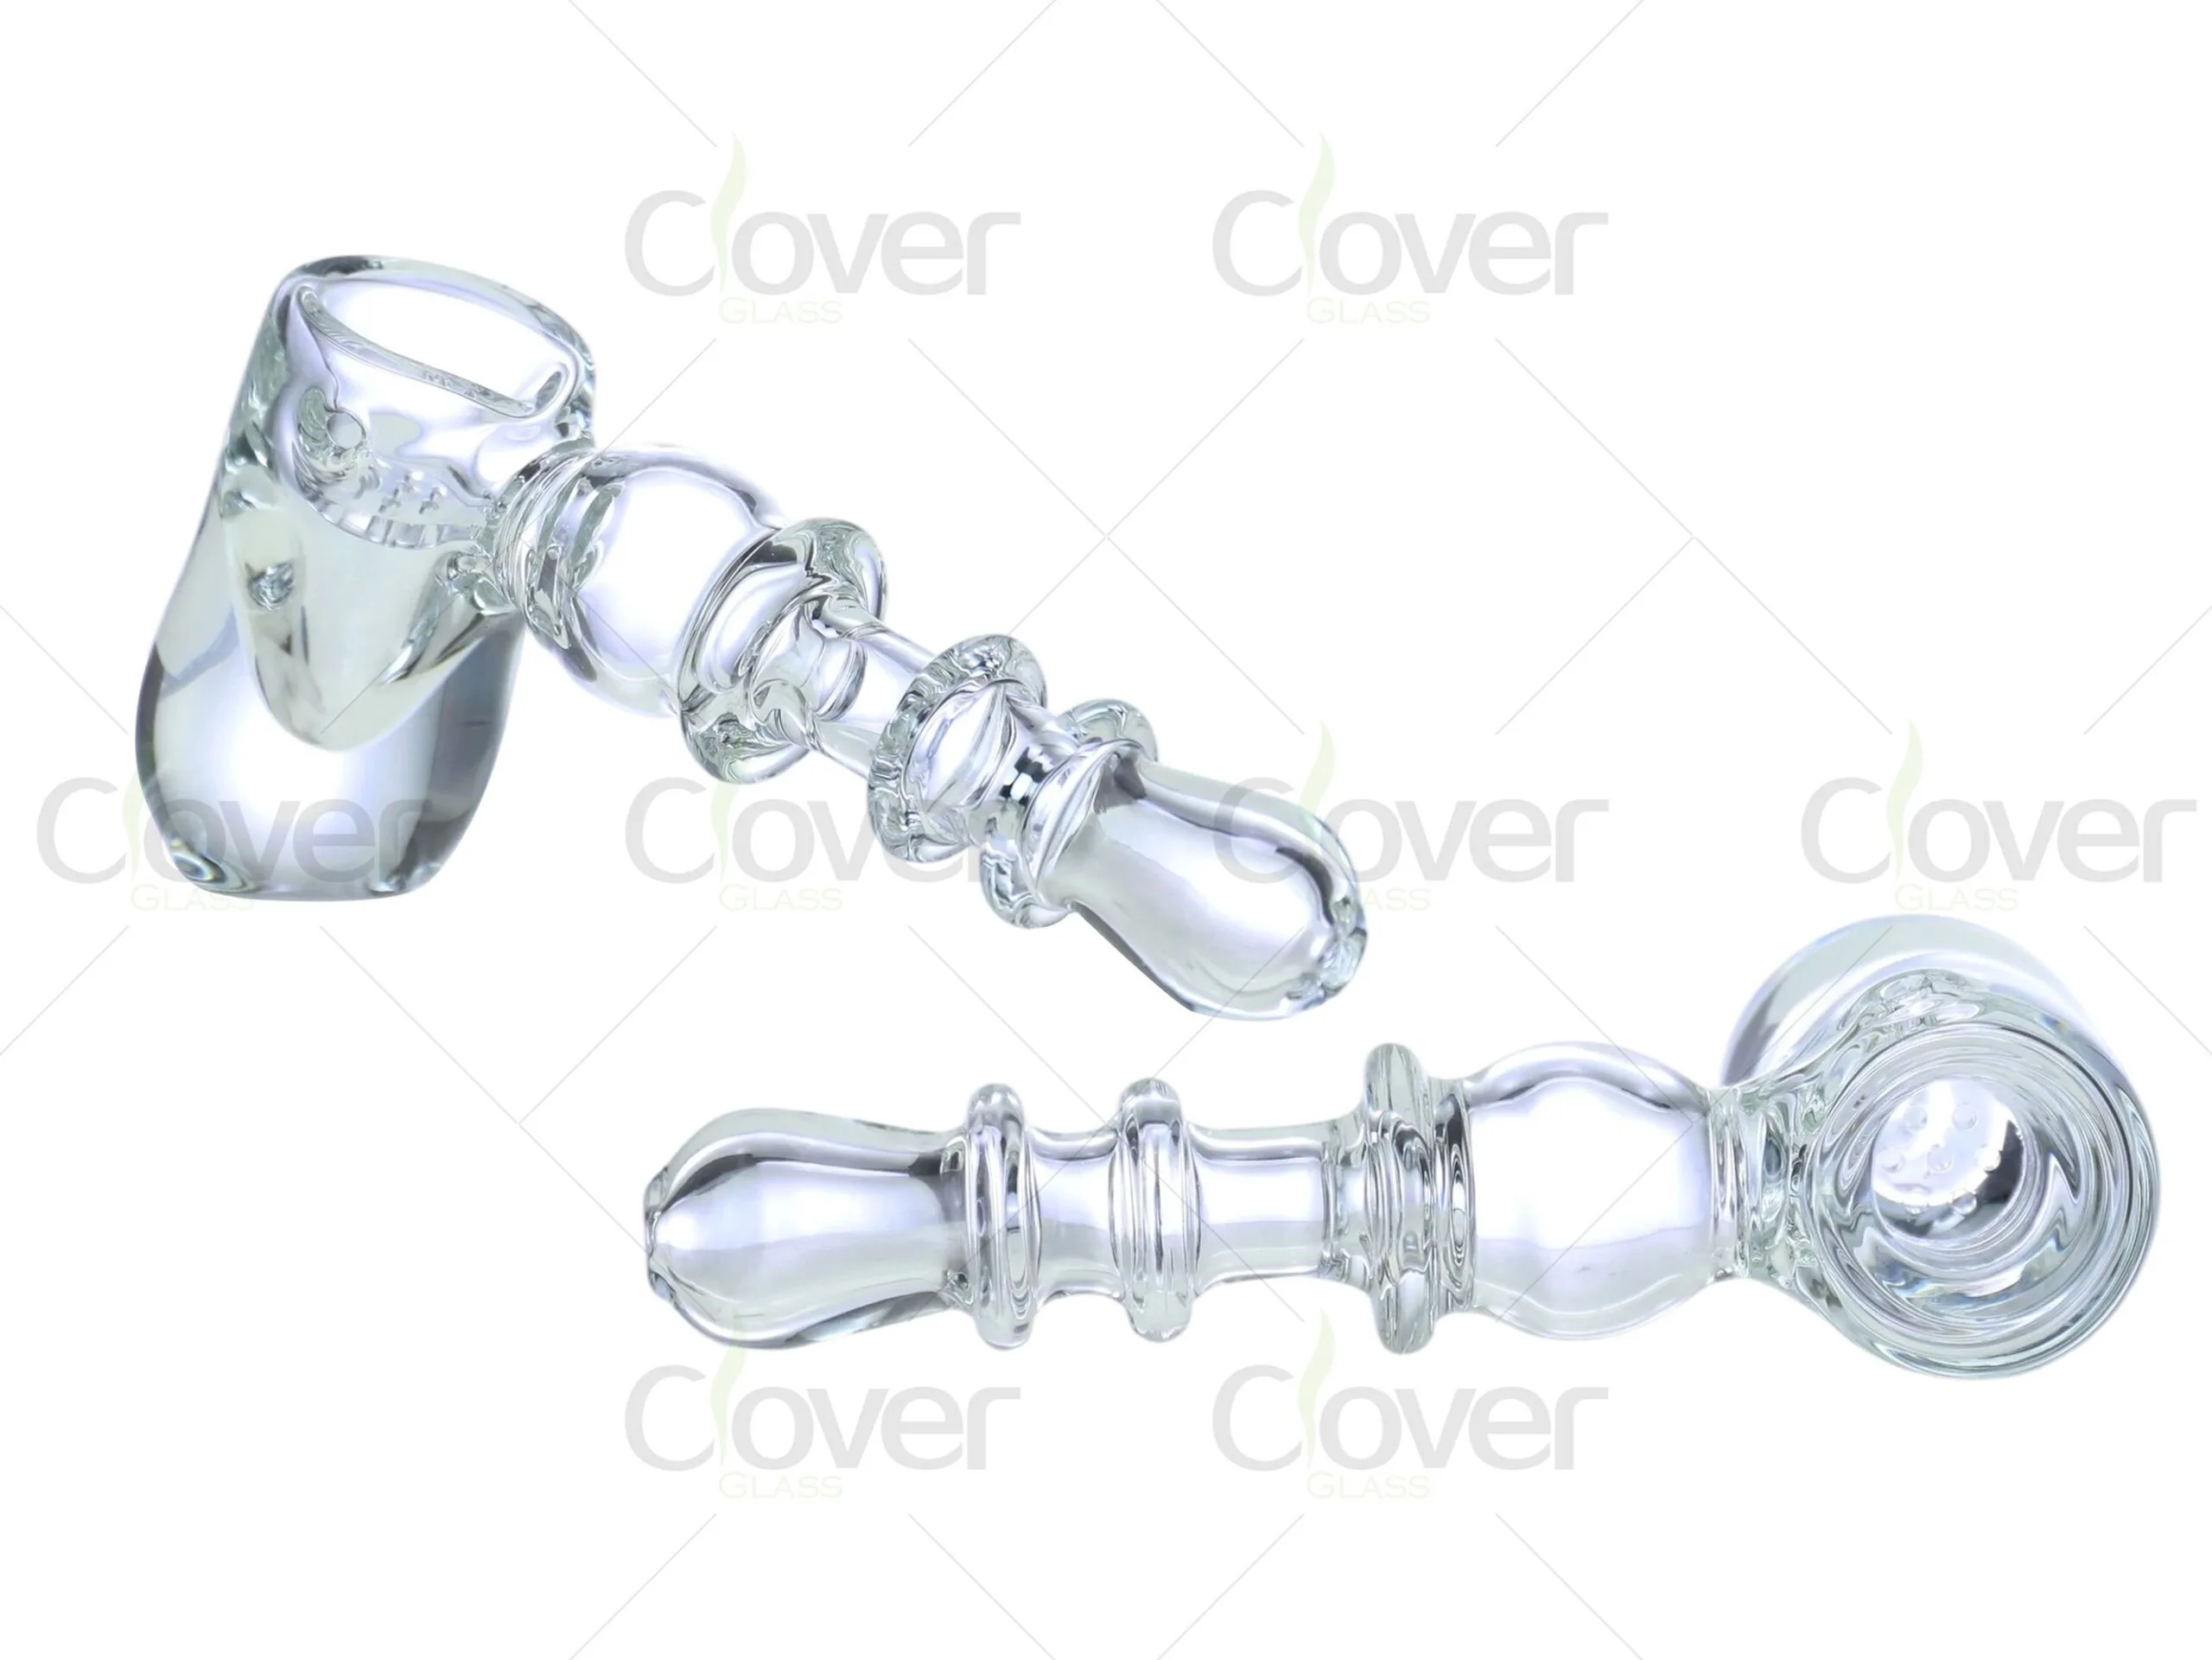
A weed bubbler is a handheld glass pipe that combines the portability of a dry pipe with the water filtration of a bong. It has a small water chamber that cools and filters smoke before it reaches your lungs, making hits smoother and less harsh than a traditional spoon pipe.
Think of a bubbler as the best of both worlds. It gives you the smooth, filtered hit of a bong without the bulk. You can hold it in one hand, it's easy to store, and it doesn't require a separate downstem or slide piece like a full-size bong does.
I remember a customer who came to me complaining that his dry pipe was too harsh on his throat. He'd tried joints, he'd tried pipes, but everything made him cough. I handed him a simple glass bubbler, showed him how to use it, and he literally said, "Why didn't anyone tell me about this sooner?" That's the moment I knew bubblers were underrated.
Why smokers love bubblers:
- Smoother hits: Water cools and filters the smoke.
- Portable: Smaller than a bong, fits in a bag or drawer.
- More flavor: Water filters out some harshness without stripping all the terpenes.
- Easy to use: No complex parts – just a pipe with a water chamber.
- Great for travel: Durable glass designs that won't break easily.
Who should use a bubbler:
- Smokers who find dry pipes too harsh
- People who want bong-like smoothness without the size
- Travelers who need something portable
- Anyone who wants a cleaner, more enjoyable smoking experience
How a Bubbler Works
A bubbler works on a simple principle: smoke passes through water before it reaches your lungs. Here's the flow:
- You pack the bowl with ground cannabis.
- You light the bowl and inhale through the mouthpiece.
- The smoke travels down the neck of the pipe into the water chamber.
- The water cools and filters the smoke – you'll see bubbles forming.
- The smoke rises through the water and up to the mouthpiece.
- You inhale cool, filtered smoke.
The "bubbler" name comes from the bubbling sound the water makes when you hit it. That sound means it's working – the smoke is being cooled and filtered.
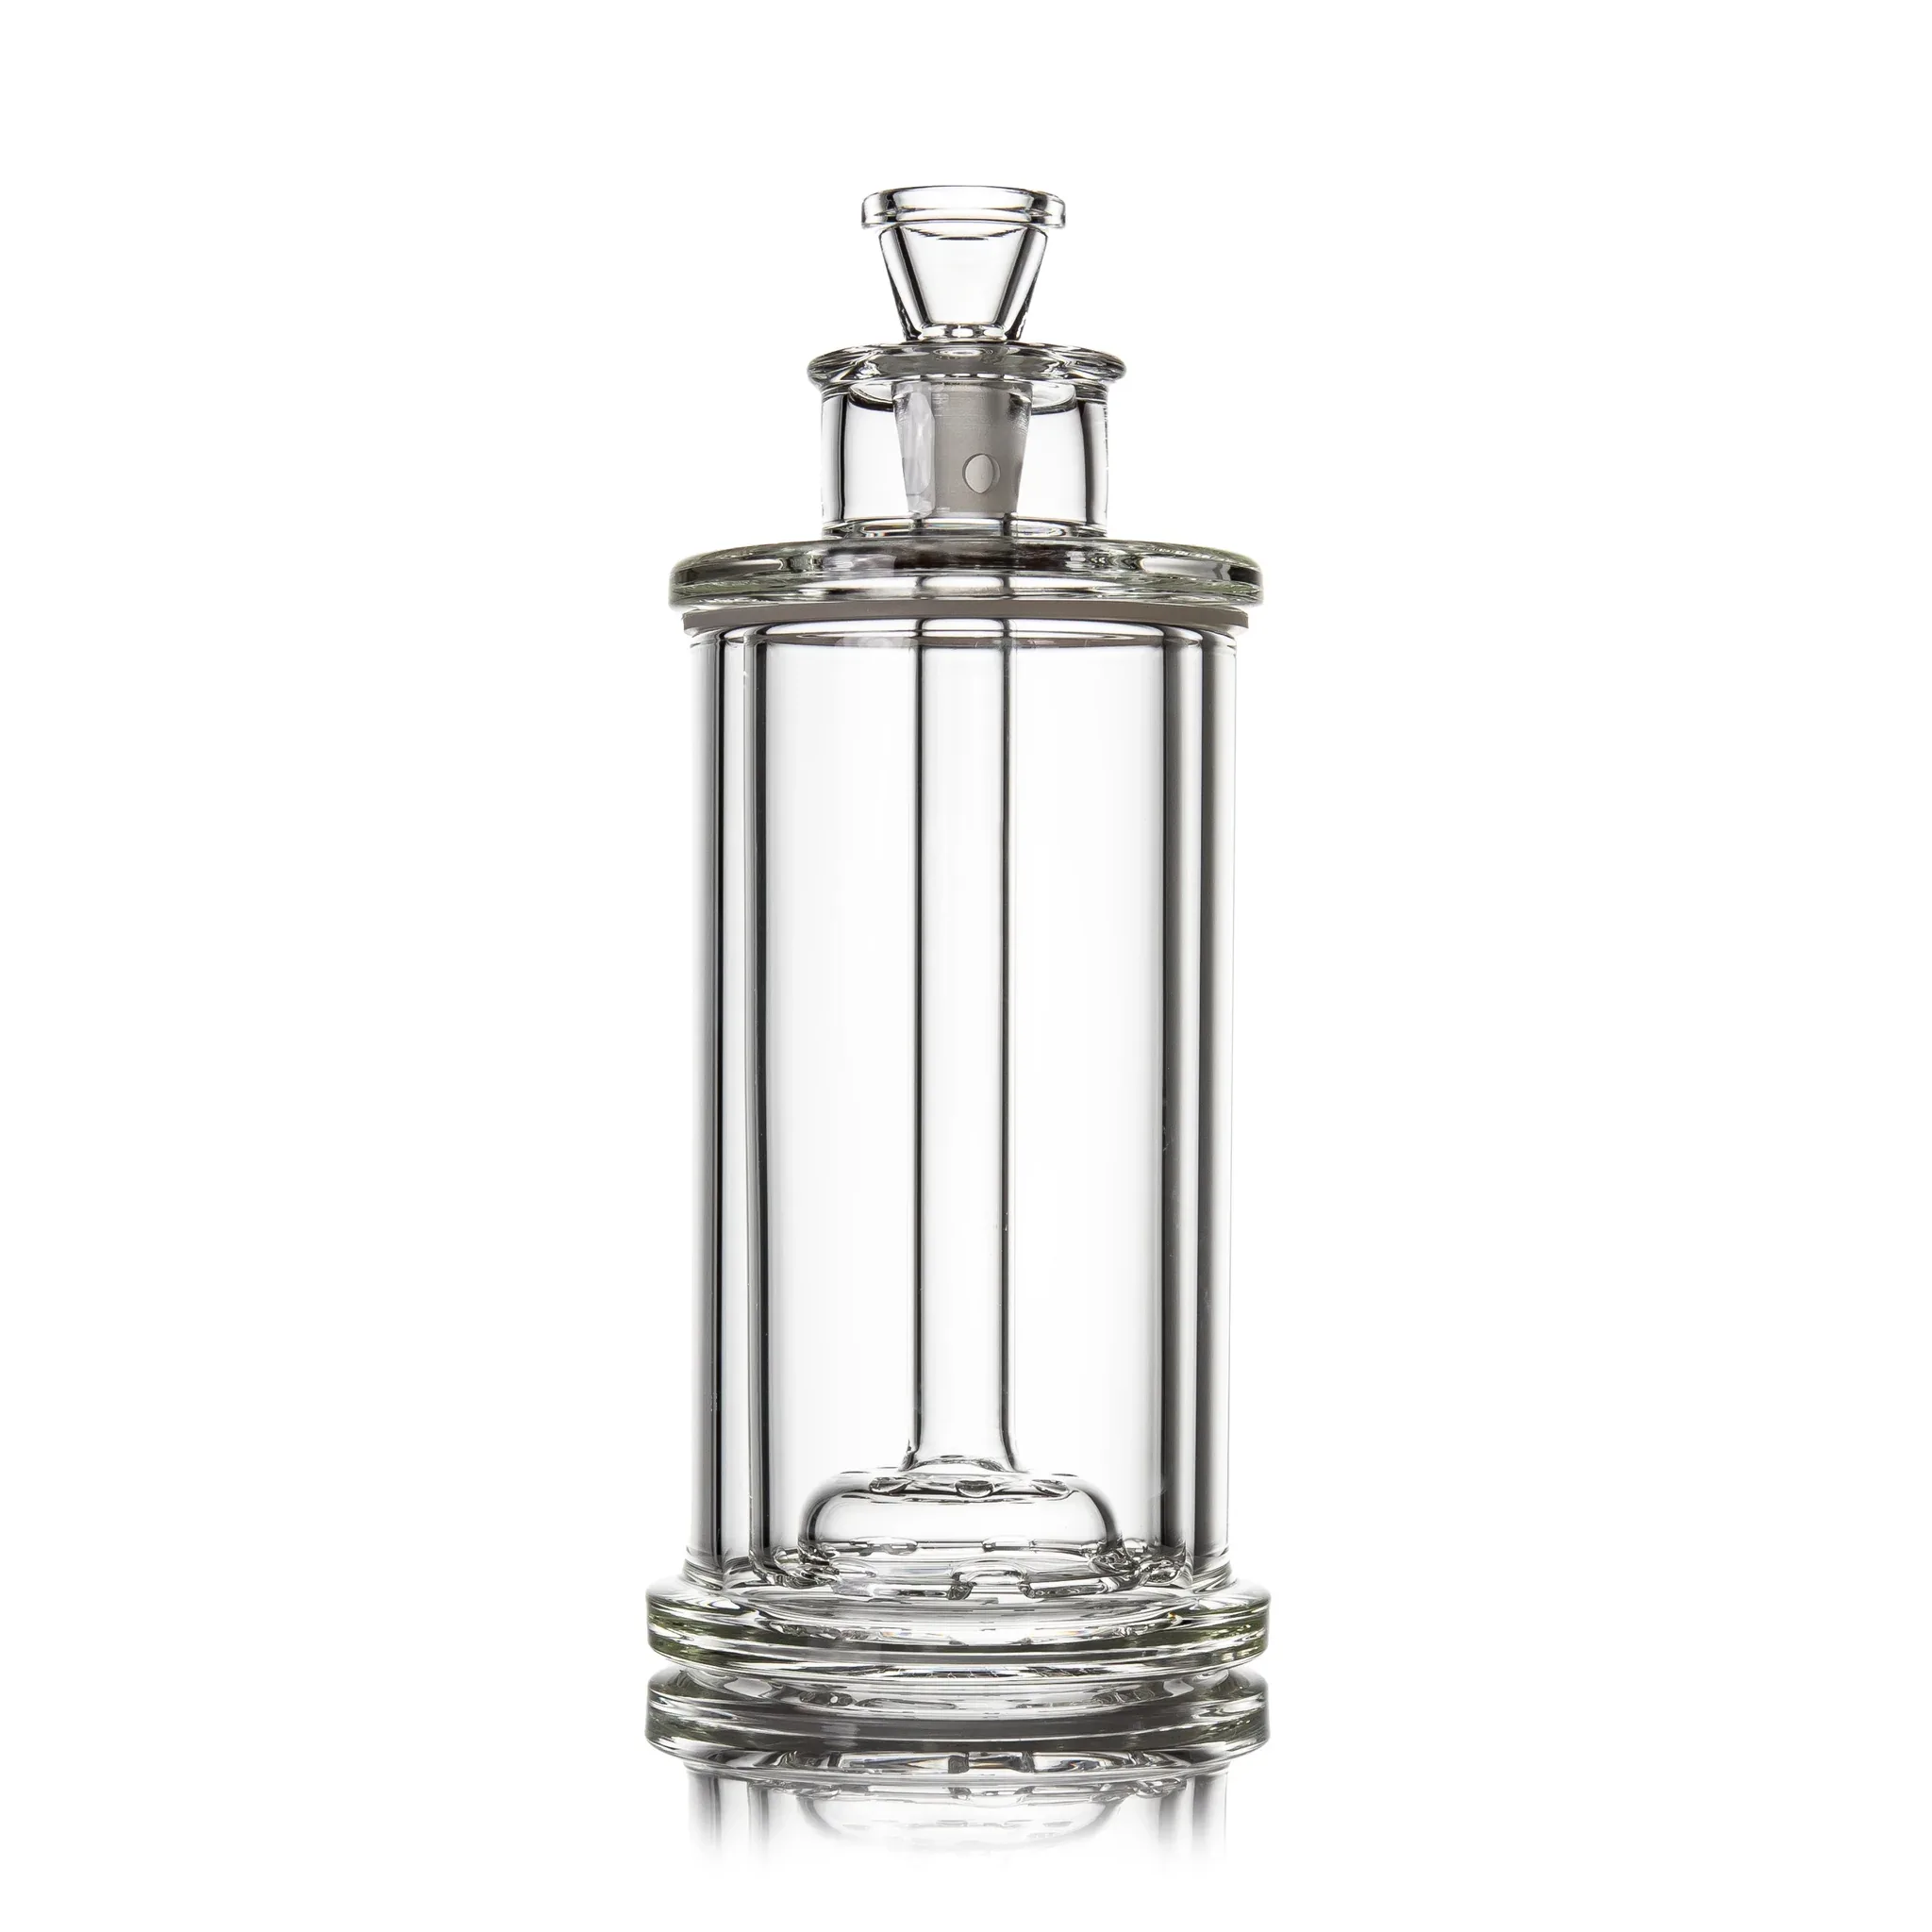
Key parts of a bubbler:
- Bowl: Where you pack your cannabis.
- Neck: The tube that connects the bowl to the water chamber.
- Water chamber: The bottom section that holds water.
- Downstem: The tube inside the water chamber that diffuses smoke.
- Mouthpiece: Where you inhale.
- Carb (optional): A small hole you cover while hitting and release to clear the chamber.
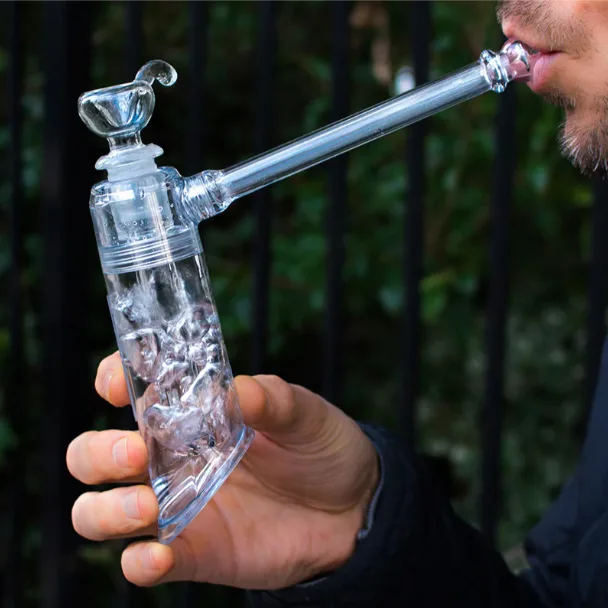
How to Use a Weed Bubbler – Step by Step
Using a weed bubbler involves four simple steps: add water, pack the bowl, light and inhale, and clear the chamber. Each step takes practice, but once you get the rhythm, it becomes second nature – and you'll enjoy much smoother hits than any dry pipe can deliver.
Let me walk you through each step in detail. I've seen beginners struggle with the water level and the carb more than anything else – so I'll pay extra attention to those.
Step 1 – Add water
- [ ] Remove the bowl piece (if it's removable).
- [ ] Fill the chamber with water through the mouthpiece or downstem hole.
- [ ] The water level should cover the downstem's diffuser holes by about ¼ to ½ inch.
- [ ] Test by giving a gentle puff – you should hear a bubbling sound but not get water in your mouth.
Step 2 – Pack the bowl
- [ ] Grind your cannabis to a medium consistency – not too fine, not too coarse.
- [ ] Fill the bowl gently – don't overpack it.
- [ ] Leave a little space at the top for airflow.
- [ ] Tap it down lightly – too tight restricts airflow.
Step 3 – Light and inhale
- [ ] Cover the carb hole (if your bubbler has one) with your thumb or finger.
- [ ] Hold the lighter at a 45° angle to the bowl.
- [ ] Apply the flame while inhaling gently – you should see the water bubble.
- [ ] Inhale slowly and steadily – this pulls the smoke through the water.
- [ ] Remove the flame once the bowl is lit.
Step 4 – Clear the chamber
- [ ] Release the carb hole (or pull the bowl if it's removable).
- [ ] Inhale deeply to clear all the smoke from the chamber.
- [ ] Exhale and enjoy.
Pro tip: If you've never used a bubbler before, start with a small amount of cannabis. You can always add more, but nothing ruins a session like taking too big a hit on your first try.
Using a Bubbler Without a Carb
Some bubblers don't have a carb hole – they use a removable bowl to clear the chamber instead. The process is slightly different:
Without carb:
- [ ] Pack the bowl.
- [ ] Light and inhale with the bowl in place.
- [ ] When you're ready to clear the chamber, gently pull the bowl out.
- [ ] Inhale deeply to clear the smoke.
- [ ] Replace the bowl when finished.
Which is better?
- With carb: Easier to use one-handed, no risk of dropping the bowl.
- Without carb: Simpler design, fewer parts to lose.
I personally prefer bubblers with a carb – they're easier to handle and you can't lose the bowl. But both styles work well, and it comes down to personal preference.
Common issues with no-carb bubblers:
- You might pull the bowl out too early and waste smoke.
- You might drop the hot bowl while clearing.
- You need two hands to operate effectively.
If you're a beginner, I recommend starting with a bubbler that has a carb. It's just easier to learn.
How Much Water to Put in a Bubbler
The right water level in a bubbler is just enough to cover the downstem's diffuser holes by about ¼ to ½ inch. Too little water and you won't get filtration; too much water and you'll get splashback in your mouth. Test it by taking a dry pull – if you hear bubbles and don't get water in your mouth, you're good.
This is the single most common mistake I see. People put too much water in their bubbler, take a hit, and get a mouthful of bong water. It's unpleasant, it ruins the flavor, and it makes you cough.
How to test water level:
- Fill the chamber with water through the mouthpiece.
- Cover the carb and give a gentle test puff.
- Listen for bubbling – if you hear it, the downstem is submerged.
- If water splashes into your mouth, pour a little out.
- If you don't hear bubbling, add a little more.
Visual check: Look at the downstem inside the water chamber. The water should sit just above the slits or holes at the bottom. If you can see the slits clearly, you don't have enough water.
What happens with wrong water levels:
| Water level | Result |
|---|---|
| Too low | Smoke isn't filtered – harsh hits, no bubbles. |
| Too high | Splashback – you get water in your mouth. |
| Just right | Smooth, cool hits with a satisfying bubble sound. |
Pro tip: The water level changes as you tilt the bubbler while hitting it. If you tilt it too far, water can spill into the mouthpiece. Always keep the bubbler as upright as possible during use.
What if my bubbler has a percolator?
Some bubblers have extra percolators or diffusers. These require slightly more water – enough to cover each percolator's holes. Test by pulling gently and listening for bubbling from each stage.
How to Pack a Bubbler Bowl
To pack a bubbler bowl, grind your cannabis to a medium consistency, fill the bowl gently without pressing it down, and leave a small gap at the top for airflow. A properly packed bowl burns evenly, doesn't clog, and gives you the best flavor and smoke production.
Packing is an art. I've watched people shove a whole nug into a bowl and wonder why it doesn't draw. Or they grind it into powder and it pulls straight through into the water. Here's how to do it right.
The perfect grind:
- Too coarse → burns unevenly, poor airflow.
- Too fine → pulls through the bowl into the water.
- Medium grind → evenly packed, consistent burn.
If your cannabis is too dry: It will burn too fast and taste harsh. Store your cannabis with humidity packs to keep it fresh.
If your cannabis is too moist: It won't stay lit and will clog your bowl. Spread it out and let it air-dry for 10–15 minutes before grinding.
Packing steps:
- [ ] Grind your cannabis to medium consistency.
- [ ] Use your fingers or a scoop to fill the bowl.
- [ ] Fill it to the top but don't pack it down – loose is better.
- [ ] Tap it lightly with your finger to settle it.
- [ ] If you overpacked, use a poker to create a small air channel.
How to avoid pulling ash through:
- Use a glass screen or a mesh screen in the bowl.
- Don't grind too fine – powder pulls through easily.
- Take slow, gentle hits – fast hits pull ash through.
- Clean your bowl regularly – resin buildup makes it worse.
Pro tip from my shop: I always tell my wholesale customers to include a pack of glass screens with every bubbler they sell. It costs pennies and saves customers from tasting ash on every hit.
How to Light and Hit a Bubbler
To light and hit a bubbler, hold the lighter at a 45° angle, apply the flame to the edge of the bowl while inhaling gently, and roll the flame across the surface. Use a slow, steady breath – like sipping tea – and release the carb at the end to clear the chamber. Aim for 3–5 second hits for the best experience.
The lighting technique matters more than you think. I've seen people torch a bowl until the whole thing is glowing, and then they complain that it tastes harsh. The secret is low and slow.
Lighting tips:
- Corner the bowl: Light just the edge of the bowl – this gives you multiple greens.
- Rotate the flame: Move the lighter around the bowl as you inhale.
- Don't torch it: A quick light is all you need – you're vaporizing, not burning.
The breathing technique:
- Inhale slowly and steadily – like sipping a hot beverage.
- Cover the carb with your thumb while lighting.
- Watch the chamber fill with smoke.
- When the chamber is milky, release the carb.
- Inhale deeply to clear the chamber.
Hit duration:
| Duration | Result |
|---|---|
| 1–2 seconds | Light hit – good for beginners |
| 3–5 seconds | Medium hit – ideal balance of flavor and cloud |
| 6–10 seconds | Heavy hit – for experienced smokers only |
How to avoid coughing:
- Take smaller hits if you're new.
- Hold the smoke in your mouth briefly before inhaling – it cools it down.
- Take a breath of fresh air between hits.
- Keep a cold drink nearby – it soothes the throat.
What if I can't get a hit?
- Check the carb – is it covered?
- Check the bowl – is it packed too tight?
- Check the water – is there enough water?
- Check the downstem – is it clogged with resin?
Pro tip: I've seen a lot of people struggle with bubblers because they expect it to work like a bong. A bubbler requires a gentler pull. If you pull too hard, you'll pull water into your mouth or ash into the chamber. Take it slow and enjoy the experience.
How to Clean a Glass Bubbler
To clean a glass bubbler, disassemble it, rinse it with warm water, soak it in isopropyl alcohol and coarse salt for 30 minutes to an hour, then shake it and scrub any stubborn residue. Rinse thoroughly with warm water and let it dry completely before your next session.
Cleaning is the one thing I tell every smoker to do regularly. A dirty bubbler is a bad-tasting bubbler. Resin build-up ruins flavor, clogs airflow, and can even harbor bacteria. Trust me – your lungs will thank you.
How often should you clean?
| Frequency | Who it's for |
|---|---|
| After every session | Heavy daily smokers |
| Every 2–3 days | Regular smokers |
| Weekly | Occasional smokers |
| Every 2 weeks | Very light smokers |
Supplies you'll need:
- Isopropyl alcohol (91% or higher – the stronger, the better)
- Coarse salt (Kosher or Epsom salt works best)
- Ziplock bag or container for soaking
- Pipe cleaners or cotton swabs
- Warm water for rinsing
Step-by-step cleaning:
- [ ] Disassemble – remove the bowl and any removable parts.
- [ ] Rinse with warm water – hot water helps loosen residue.
- [ ] Fill a bag or container with isopropyl alcohol and add a few tablespoons of salt.
- [ ] Submerge the bubbler – if you can't submerge it, fill the chamber through the mouthpiece.
- [ ] Let it soak – 30 minutes for light cleaning, up to 2 hours for heavy resin.
- [ ] Shake it gently – the salt acts as an abrasive scrubber.
- [ ] Scrub stubborn spots – use pipe cleaners or cotton swabs.
- [ ] Rinse thoroughly with warm water until all alcohol and salt are gone.
- [ ] Let it dry completely before using it again.
Quick cleaning hack: If you don't have time for a full soak, fill the bubbler with alcohol and salt, cover the openings with your fingers, and shake vigorously for 2–3 minutes. Rinse and it's done.
What not to use:
- ❌ Boiling water – can crack your glass.
- ❌ Dish soap – leaves residue, ruins flavor.
- ❌ Vinegar – won't dissolve resin effectively.
- ❌ Acetone or harsh chemicals – dangerous to inhale.
Pro tip from CloverGlass: Clean your glass after each session and you'll never have to spend an hour scrubbing caked-on resin. I tell all my wholesale customers to include a small bottle of alcohol and salt with every bubbler they sell – it's a tiny cost for a huge value.
How to Remove Stubborn Resin from a Bubbler
Sometimes, no matter how often you clean, resin builds up in hard-to-reach places. Here's what I do:
The salt and alcohol shake:
- Pour 91% isopropyl alcohol into the chamber.
- Add a generous amount of coarse salt.
- Cover the openings with your thumbs or tape.
- Shake vigorously for 2–3 minutes.
- Let it sit for 30 minutes if it's really bad.
- Shake again and rinse.
For percolator bubblers:
Percolators are harder to clean. Use the same method but shake more. Let the alcohol sit for an hour. If it's still clogged, repeat the process. You can also use a long pipe cleaner to reach into the percolator holes.
For burnt-on residue:
If you've heavily torched your bowl and there's burnt black residue, soak it in pure alcohol overnight. In the morning, scrub with a pipe cleaner. If it's still there, repeat.
Prevention is better than cure:
- Clean after every session – it takes 2 minutes.
- Use screens to keep larger ash particles out.
- Avoid extreme temperature changes – they cause cracking.
- Store your bubbler in a safe place – not in direct sunlight.
Bubbler vs Bong – What's the Difference?
A bubbler and a bong both use water to filter smoke, but they're designed for different situations. A bubbler is small, portable, and built for solo or small-group use. A bong is larger, offers more filtration, and is better for sessions with multiple people. Choose a bubbler for portability and a bong for smoother, cooler hits.
| Feature | Bubbler | Bong |
|---|---|---|
| Size | 5–8 inches | 10–18+ inches |
| Portability | High – fits in a bag | Low – large and fragile |
| Water volume | Small – 1–2 ounces | Large – 3–8 ounces |
| Filtration | Basic – single water chamber | Multiple – percolators, ice catchers |
| Cooling | Moderate | Extensive – more water + ice |
| Hit smoothness | Smooth | Very smooth |
| Ease of use | Easy – one hand | Requires setup |
| Price | $20–$80 | $40–$300+ |
| Best for | Solo sessions, travel | Group sessions, home use |
Which should you choose?
- Choose a bubbler if: You want smooth hits on the go, you have limited space, or you want something easier to clean.
- Choose a bong if: You want the smoothest possible hit, you smoke in groups, or you like to customize your setup.
My take: A bubbler is the best "daily driver" for most smokers. It's portable enough to keep in a drawer, smooth enough to enjoy every time, and simple enough that you don't need to think about it. I have several bubblers in my own collection – and I use them more than my big bongs.
Common Bubbler Mistakes to Avoid
The most common mistakes new bubbler users make are: using too much water (getting splashback), pulling too hard (getting water in the mouth), not cleaning enough (ruining flavor), and packing the bowl too tight (restricting airflow). Avoid these and you'll have a great experience every time.
I've seen these mistakes a thousand times. Let me help you avoid them.
Mistake #1 – Too much water
- Symptom: You get water in your mouth when you inhale.
- Fix: Pour out a little water until the bubbling is clean.
Mistake #2 – Pulling too hard
- Symptom: Water splashes up and you taste bong water.
- Fix: Inhale slower – think "sipping tea" not "slurping juice."
Mistake #3 – Not cleaning enough
- Symptom: The hit tastes harsh and resinous.
- Fix: Clean after every session, or at least every 2–3 days.
Mistake #4 – Packing too tight
- Symptom: You can't draw, or the hit is weak.
- Fix: Loosen the pack – you should see a small gap at the top of the bowl.
Mistake #5 – Using the wrong lighter
- Symptom: You taste butane, or the bowl gets black.
- Fix: Use a hemp wick or a torch lighter for cleaner hits.
Mistake #6 – Overheating the bowl
- Symptom: The hit tastes burnt and harsh.
- Fix: Light just the edge and let the flame roll – don't torch the center.
Mistake #7 – Not using a screen
- Symptom: Ash pulls through into the water chamber.
- Fix: Use a glass screen or a metal mesh screen.
Mistake #8 – Tipping the bubbler while hitting
- Symptom: Water spills into the mouthpiece.
- Fix: Keep it as upright as possible during your hit.
How to Choose the Right Bubbler for You
Choosing a glass bubbler comes down to three things: size, material, and style. A smaller bubbler (5–7 inches) is more portable but gives a warmer hit. A larger bubbler (7–9 inches) offers cooler hits but is less travel-friendly. Borosilicate glass is the best material – it's heat-resistant and durable.
Let me help you pick the right one.
Size:
| Size | Pros | Cons | Best for |
|---|---|---|---|
| Small (5–6″) | Portable, easy to hide | Warmer hits, less filtration | Travel, pocket carry |
| Medium (6–8″) | Balance of everything | Not pocketable | Daily use, home |
| Large (8–9″) | Very smooth hits | Bulky, more water | Home use, heavy smokers |
Material:
- Borosilicate glass: The best. Heat-resistant, durable, and doesn't affect flavor. My top recommendation.
- Soda-lime glass: Cheaper but less durable – cracks easier with temperature change.
- Silicone: Unbreakable but affects flavor – good for travel.
Style:
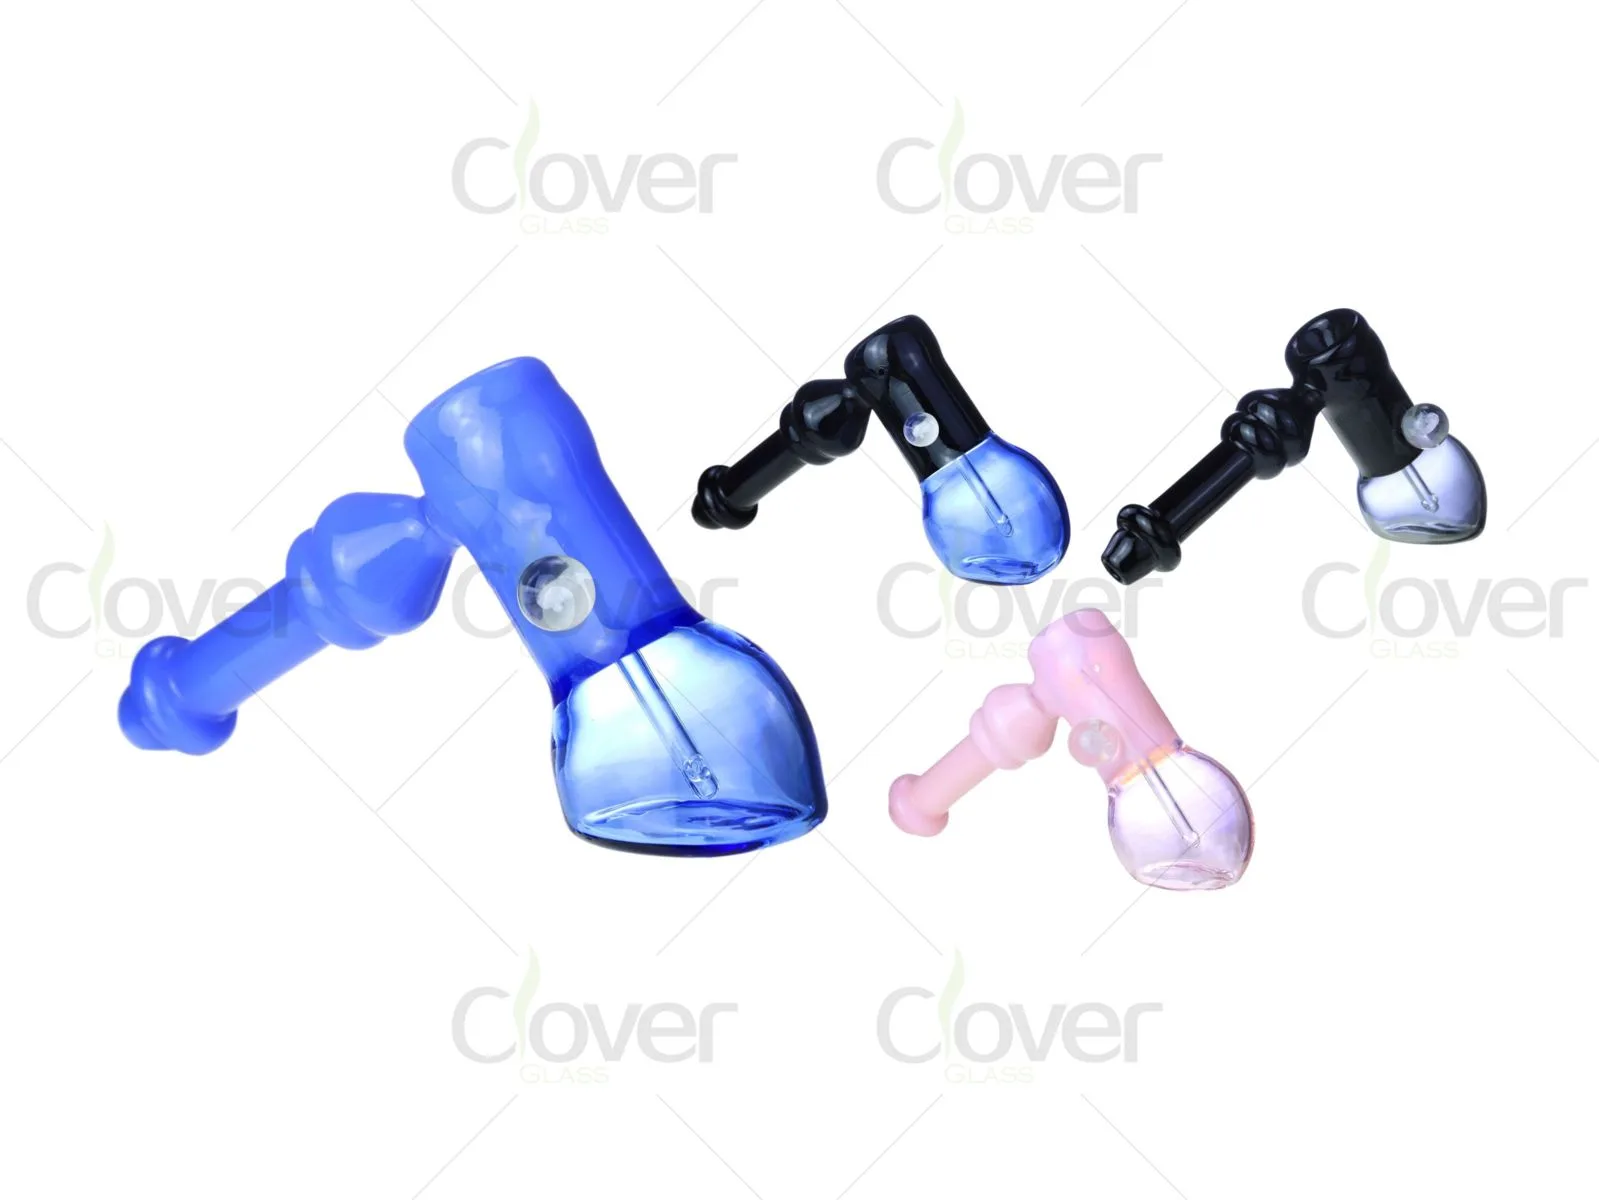
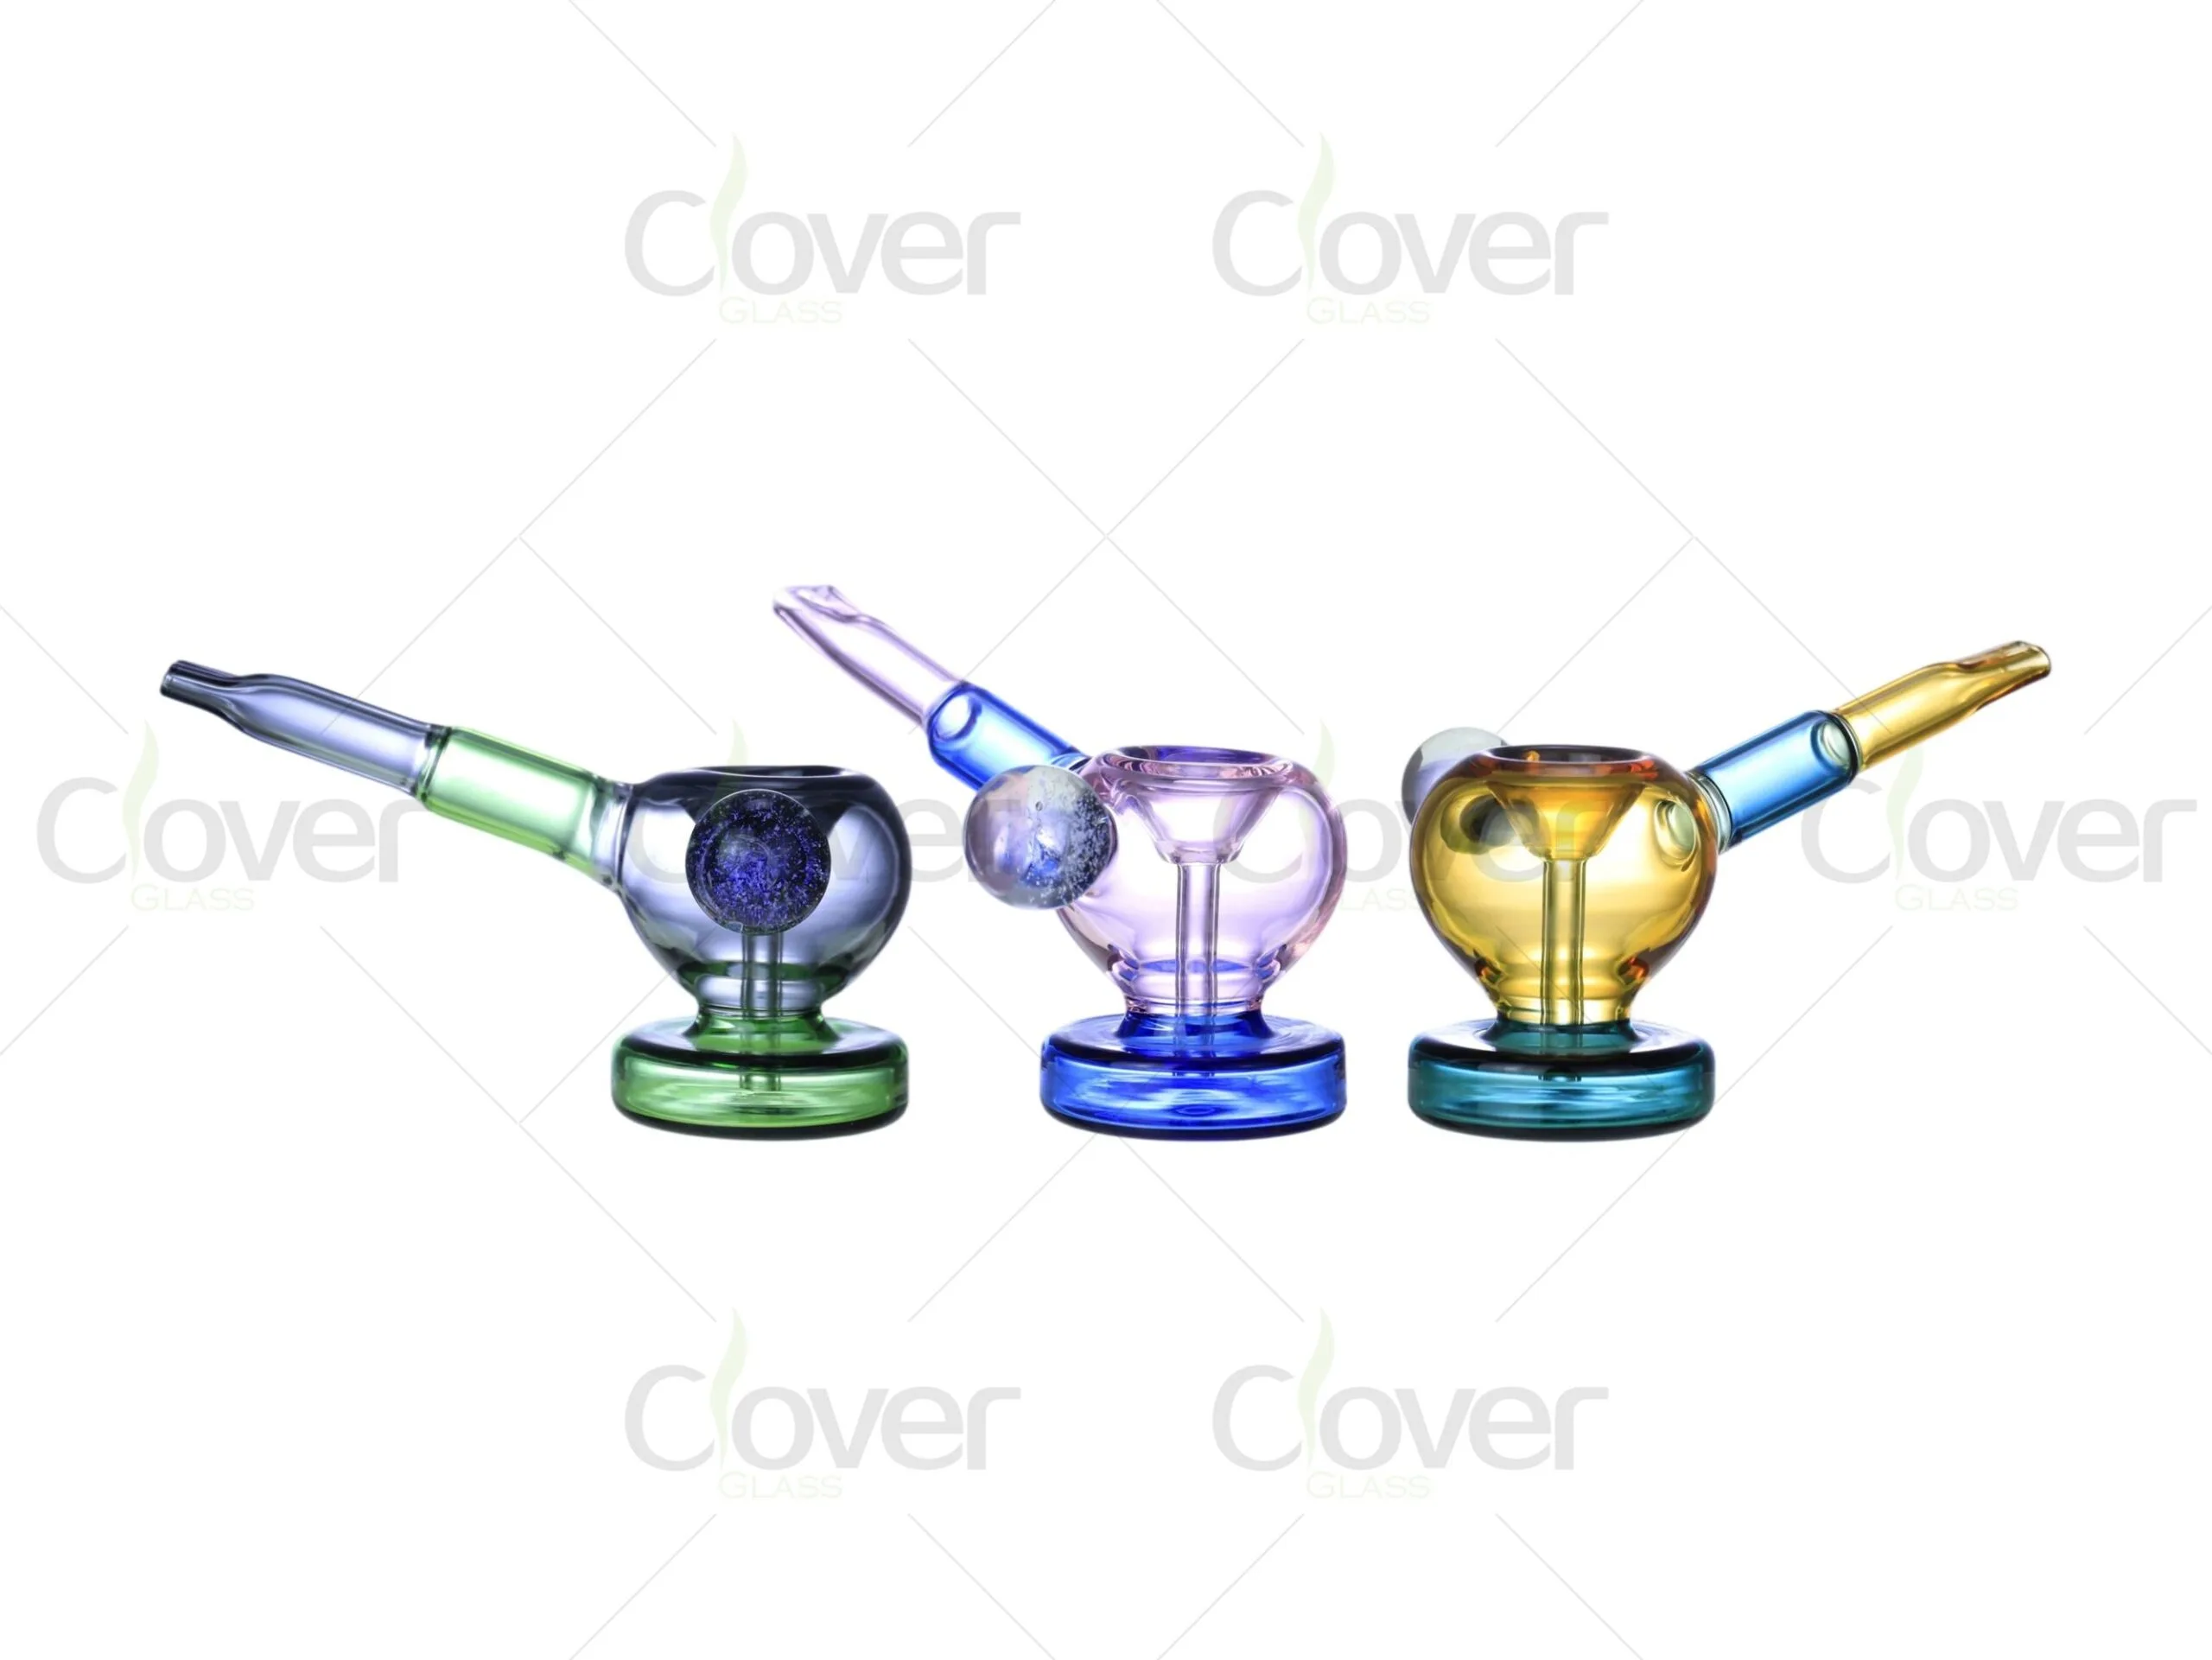
| Style | Description |
|---|---|
| Hammer bubbler | Classic design – bowl on top, mouthpiece on the side |
| Sherlock bubbler | Curved neck like a Sherlock pipe – elegant and easy to hold |
| Sidecar bubbler | The mouthpiece is offset on the side – gives extra clearance for your face |
| Straight bubbler | Simple vertical design – easy to clean and use |
What I recommend:
For most people, a medium-sized (7-inch) hammer bubbler in borosilicate glass is the sweet spot. It's portable, smooth, durable, and easy to clean. And it looks great on any table.
FAQ
Q1: How do you use a bubbler for weed?
A: Fill the water chamber to cover the downstem holes, pack the bowl with ground cannabis, cover the carb, light the bowl while inhaling gently, and release the carb to clear the chamber. It's like a bong but smaller and more portable.
Q2: How much water do you put in a bubbler?
A: Just enough to cover the downstem's diffuser holes by about ¼ to ½ inch. Test by taking a dry pull – you should hear bubbling without getting water in your mouth. Adjust as needed.
Q3: Do you need a screen for a bubbler bowl?
A: Not required, but highly recommended. A glass screen prevents ash from pulling through into the water chamber, which keeps your bubbler cleaner and improves flavor.
Q4: How do you clean a glass bubbler?
A: Disassemble it, rinse with warm water, soak in isopropyl alcohol and coarse salt for 30–60 minutes, shake it gently, scrub with pipe cleaners, rinse thoroughly, and let it dry completely.
Q5: Can you put ice in a bubbler?
A: Not usually – bubblers are too small for ice. If you want ice-cooled hits, use a bong with an ice catcher instead.
Q6: Is a bubbler better than a bong?
A: It depends. A bubbler is better for portability, solo use, and quick sessions. A bong is better for group sessions, cooler hits, and more filtration. Both have their place.
Q7: Why does my bubbler taste bad?
A: It's probably dirty. Resin buildup ruins flavor. Clean your bubbler with alcohol and salt – you'll notice the flavor improve immediately.
Q8: Can I use a torch lighter on a bubbler?
A: You can, but I recommend a standard lighter or hemp wick. A torch lighter can overheat the bowl and give you a harsh, burnt taste.
Q9: How long does a glass bubbler last?
A: With proper care, a quality glass bubbler can last for years. The key is regular cleaning, gentle handling, and avoiding temperature extremes.
Q10: Where can I buy a high-quality glass bubbler?
A: CloverGlass offers a wide range of glass bubblers, from basic designs to intricate pieces. We manufacture directly – which means better quality and lower prices.
Conclusion + CTA
A glass bubbler is one of the best investments you can make as a smoker. It gives you the smooth, filtered hit of a bong in a portable, easy-to-use package. Whether you're a beginner or a seasoned smoker, a bubbler deserves a spot in your rotation.
For personal users: Keep it clean, use the right water level, and take your time learning the technique. You'll be rewarded with cool, flavorful hits every single time.
For smoke shop owners: Bubblers sell. They're the perfect "transition" product for customers moving from pipes to water pipes. Stock a variety of styles and sizes – and don't forget to include screens and cleaning supplies in your display.
👉 Need wholesale bubblers and accessories? CloverGlass offers factory-direct pricing, low MOQs, and fast LA warehouse shipping.
Get wholesale pricing: Contact our B2B team
Order online: https://cloverglasspipe.com/wholesale-glass-bubblers/
Email Frank directly: Fr***@********pe.com